Overview
To ensure a smooth integration with Eazybe, you must enable the necessary permissions for custom objects in your Zoho CRM account. These permissions allow Eazybe to sync custom objects correctly between Zoho CRM and your workspace.Steps to Enable Custom Object Permissions
1
Log Into Zoho CRM
Sign in to your Zoho CRM account using administrator credentials. You need admin access to modify permission settings.
2
Access Permissions Settings
Navigate to the Permissions or Customization settings in your Zoho CRM dashboard.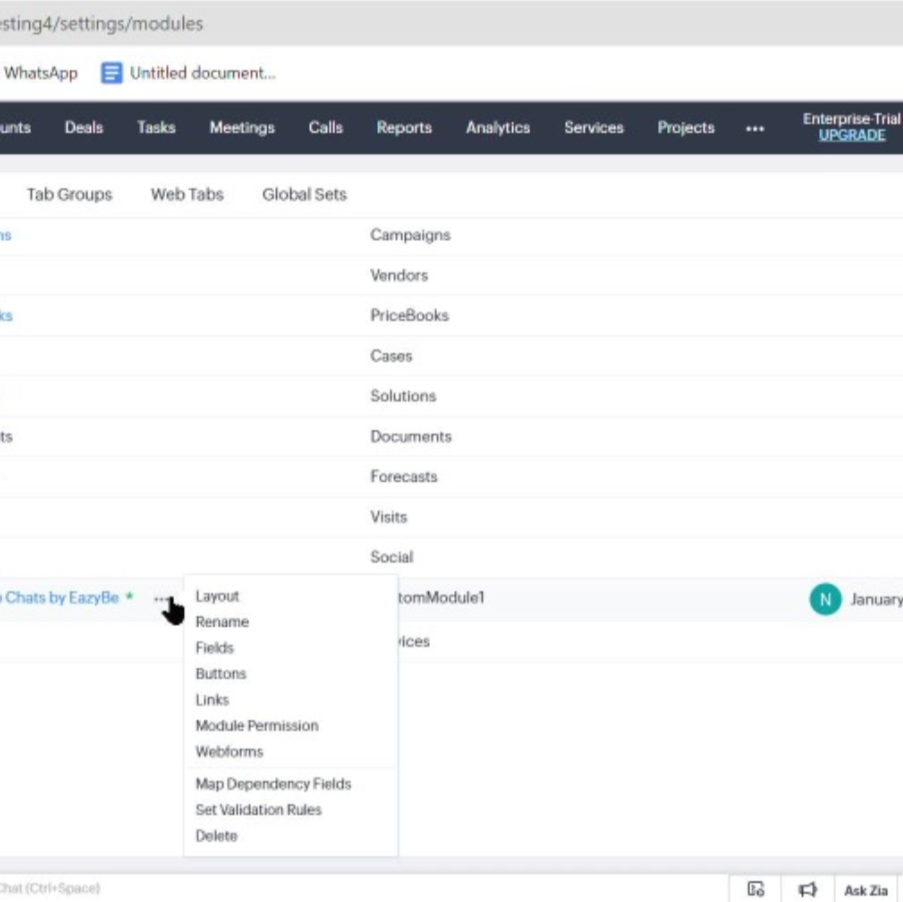
A dedicated “Custom Object” section may not be visible in the current interface. Look for permission settings within the general customization area.
3
Enable Required Permissions
Within the permissions area, ensure the following permissions are enabled:
- Create Custom Objects - Allows creating new custom objects
- Edit Custom Objects - Allows modifying existing custom objects
- Update Custom Objects - Allows updating custom object records
4
Save Changes
Click Save to confirm your settings and enable proper Eazybe integration management.
Required Permissions Checklist
Create
Permission to create new custom objects in Zoho CRM
Edit
Permission to modify custom object structures
Update
Permission to update custom object records
Troubleshooting
I don't see custom object permissions in my settings
I don't see custom object permissions in my settings
Custom object permissions may be located under different menu sections depending on your Zoho CRM edition. Try checking under Setup → Users and Control → Profiles and edit the relevant profile.
Changes aren't taking effect
Changes aren't taking effect
After saving permission changes, you may need to log out and log back in for the changes to take effect. Also ensure you’re editing the correct user profile.
Integration still not syncing custom objects
Integration still not syncing custom objects
Verify that all three permissions (Create, Edit, Update) are enabled. If issues persist, contact support at hey@eazybe.com.