Installation Steps
1
Open the EazyBe WhatsApp Extension
Click the Integrations button on your EazyBe WhatsApp web extension.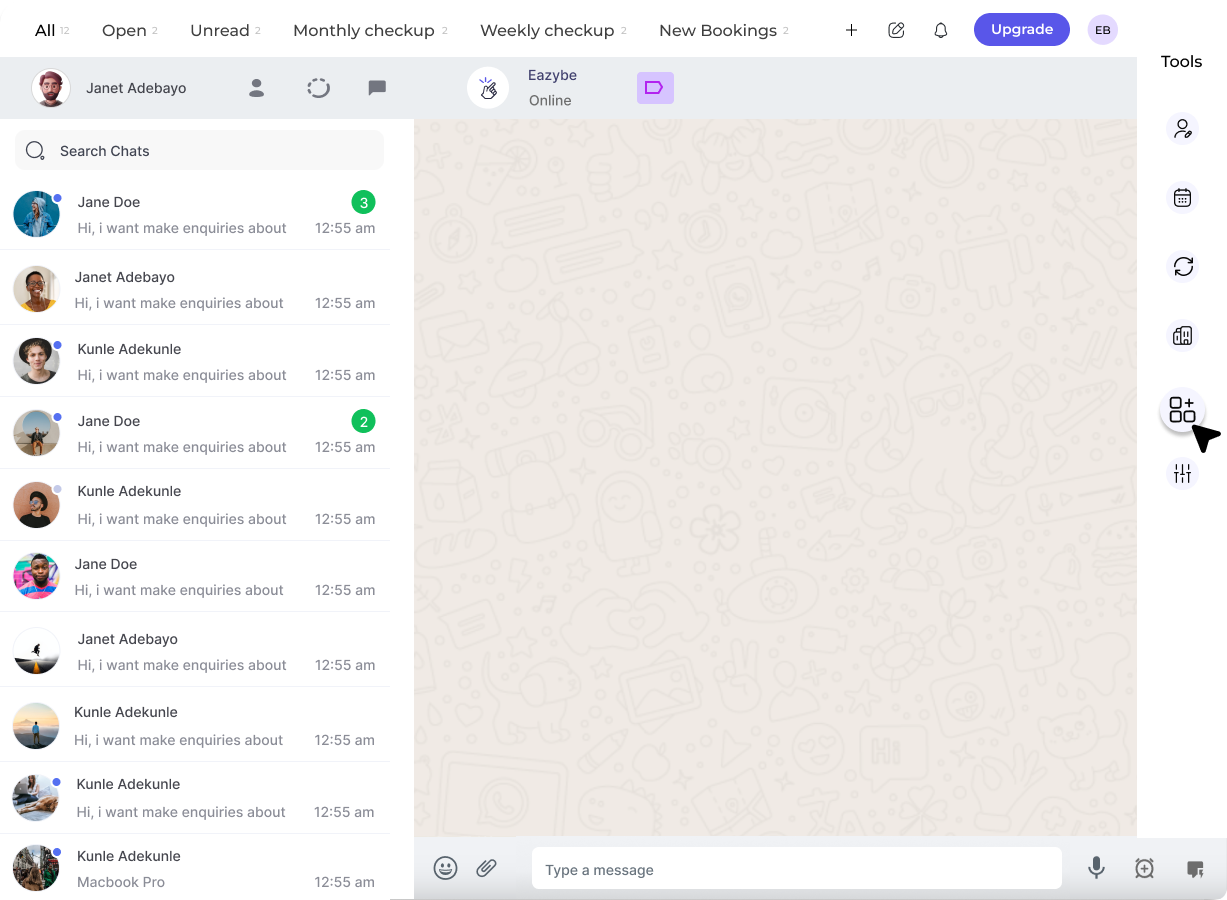
2
Connect to Salesforce
Select the Connect button below the Salesforce integration. This will redirect you to your Salesforce account.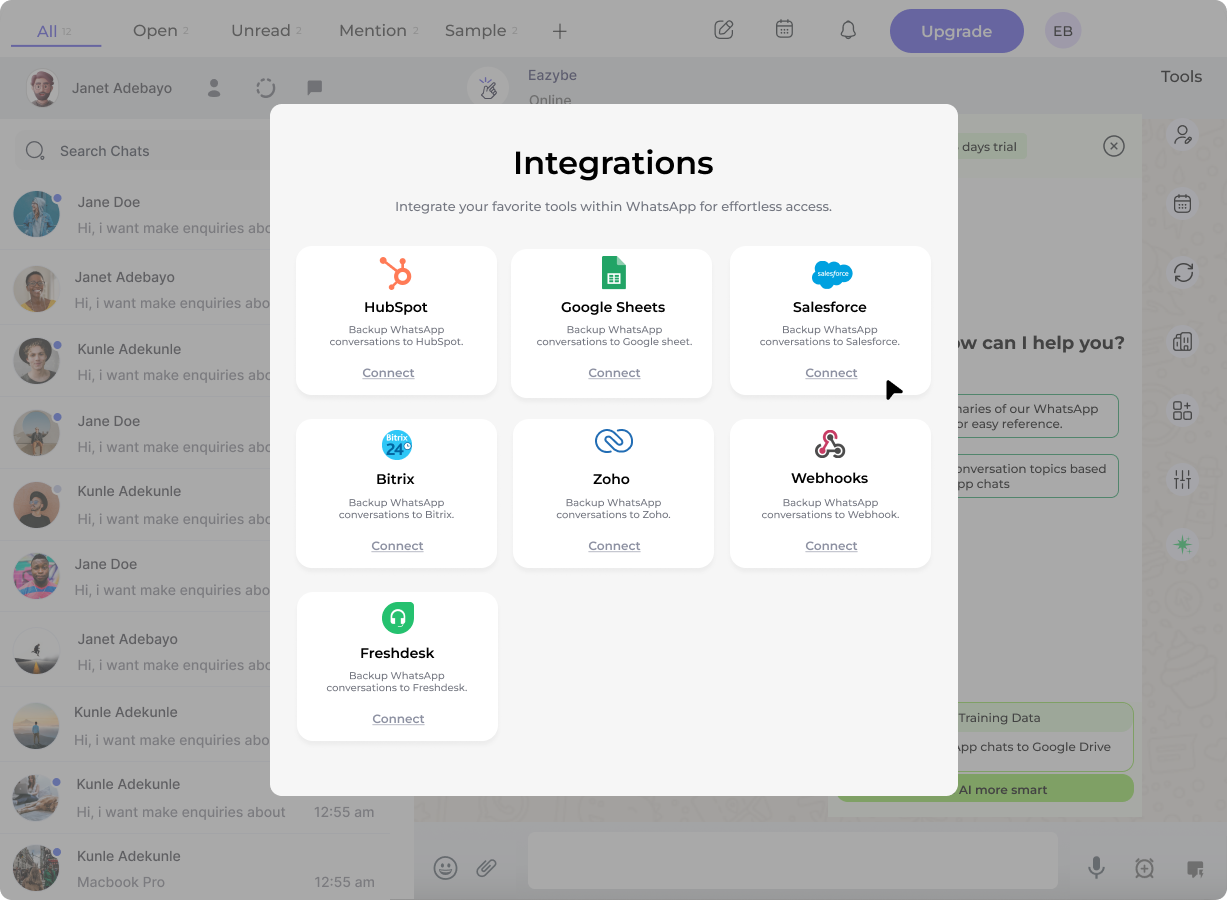
3
Select Your Salesforce Account
Choose the Salesforce account you wish to connect with the EazyBe extension.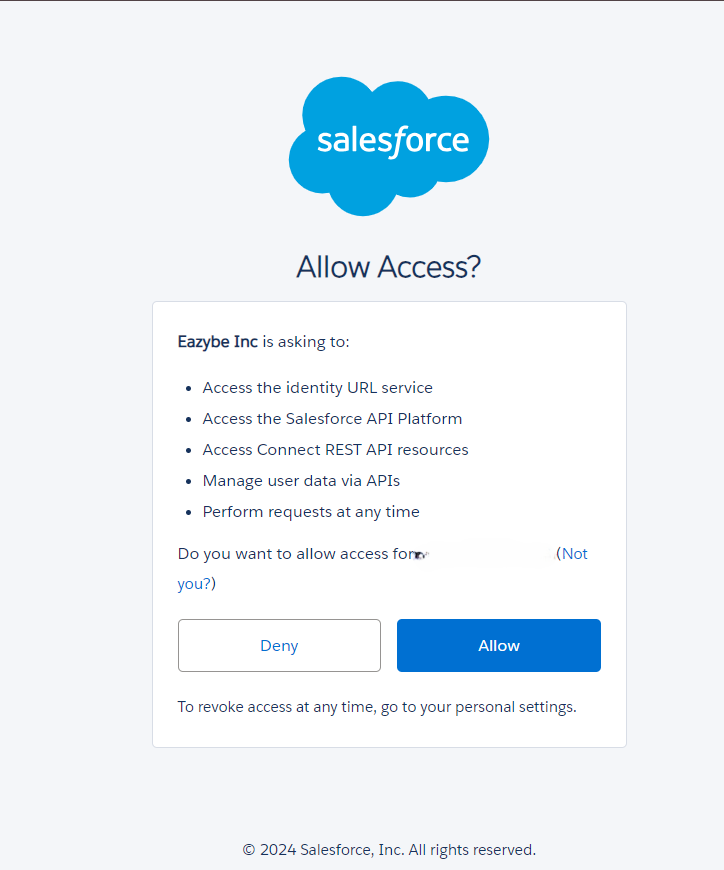
4
Grant Necessary Permissions
Click Accept to grant permissions allowing EazyBe to view and sync your WhatsApp chats with Salesforce.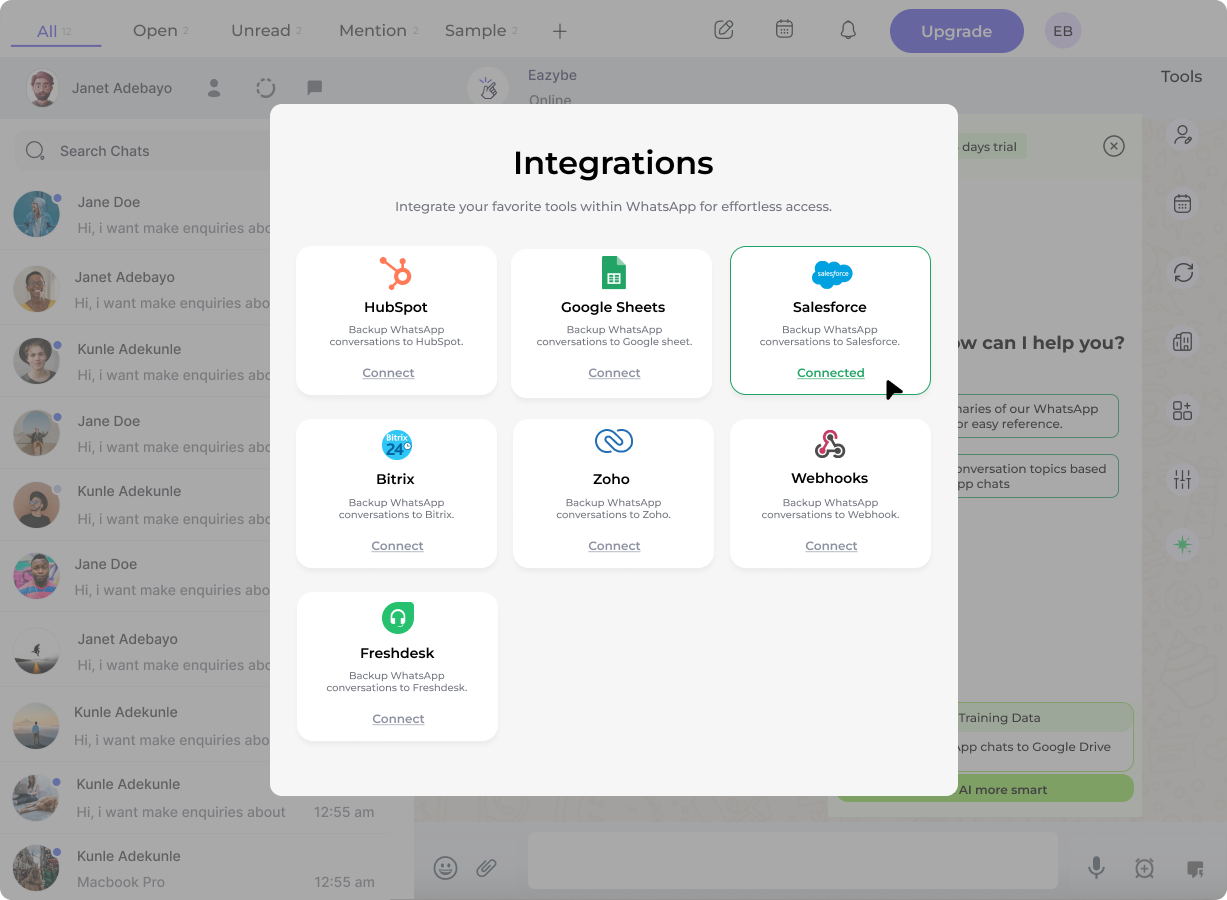
You have successfully connected your EazyBe WhatsApp Extension with Salesforce. Your WhatsApp conversations can now be synced with your Salesforce CRM.