Prerequisites
Before starting, ensure you have:Latest EazyBe Extension
Make sure you have the latest version of the EazyBe WhatsApp extension installed.
Freshdesk Account
An active Freshdesk account with admin access to generate API keys.
Getting Your Freshdesk Credentials
Before connecting EazyBe, you need to obtain your Freshdesk domain name and API key.Step 1: Extract Your Domain/Helpdesk Name
Your Domain/Helpdesk name can be obtained from your Freshdesk URL as shown below:
Step 2: Navigate to Account Settings
Click on the My Account icon positioned in the top right corner of your Freshdesk dashboard.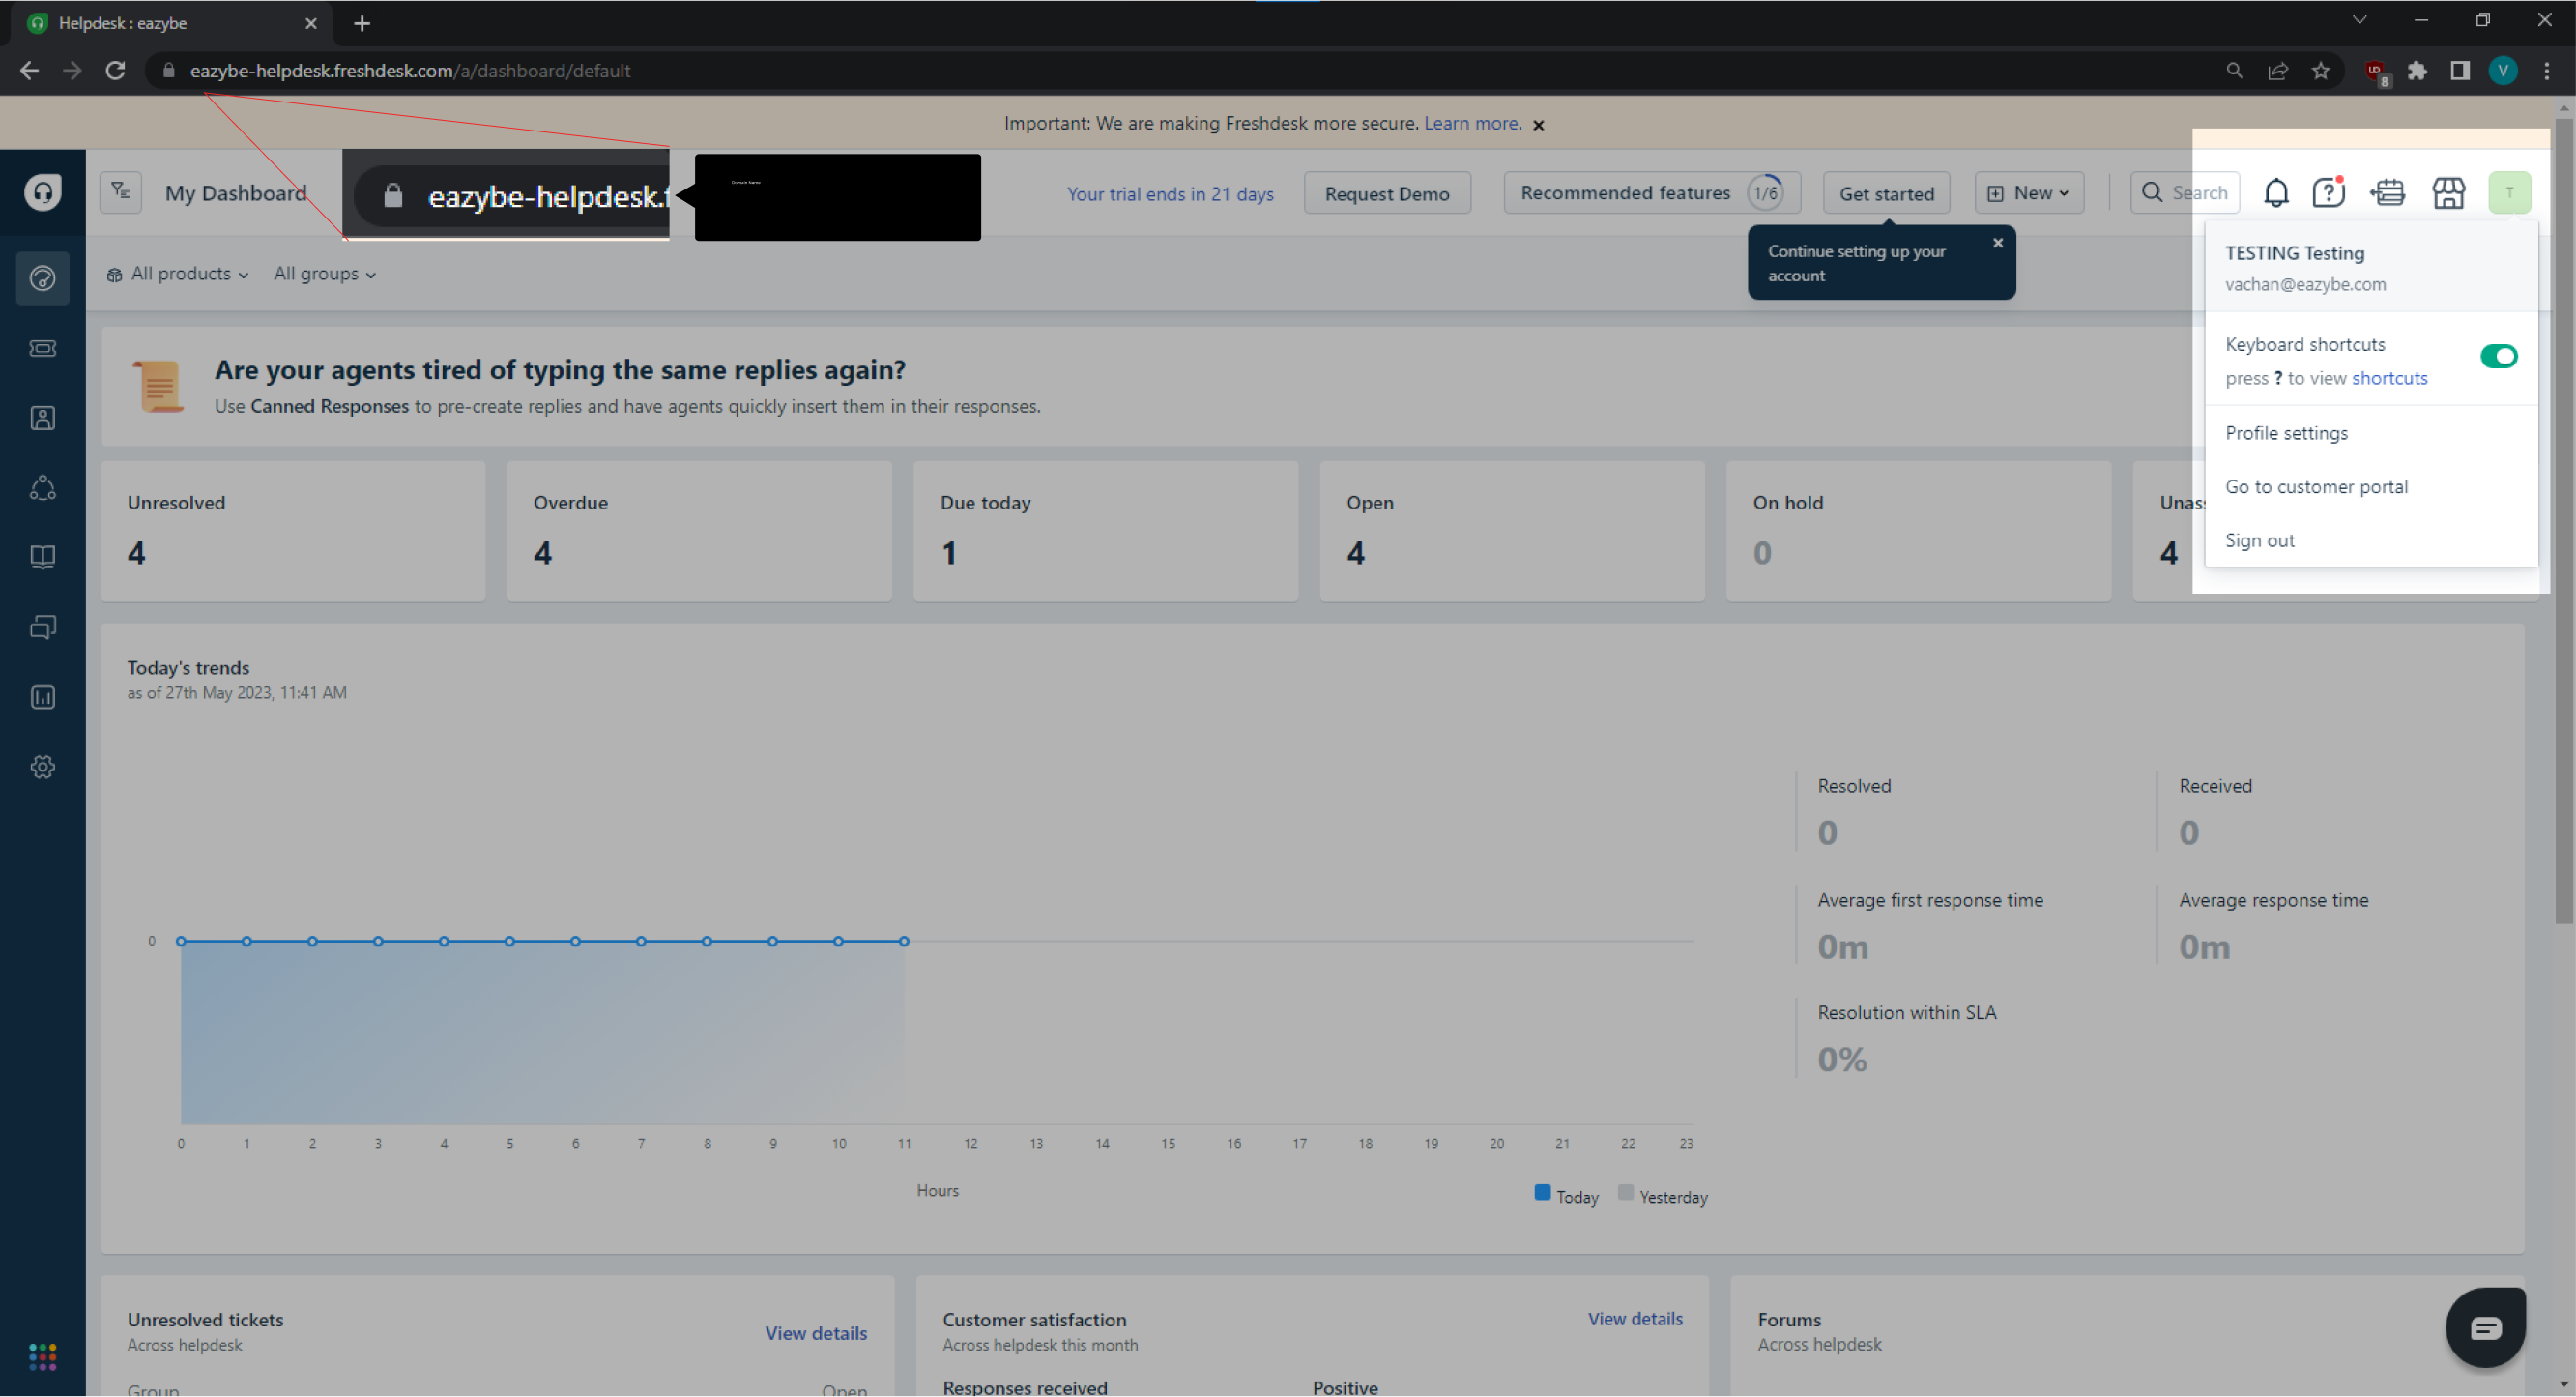
Step 3: Generate Your API Key
Open your profile settings page and complete the CAPTCHA check to retrieve your API key.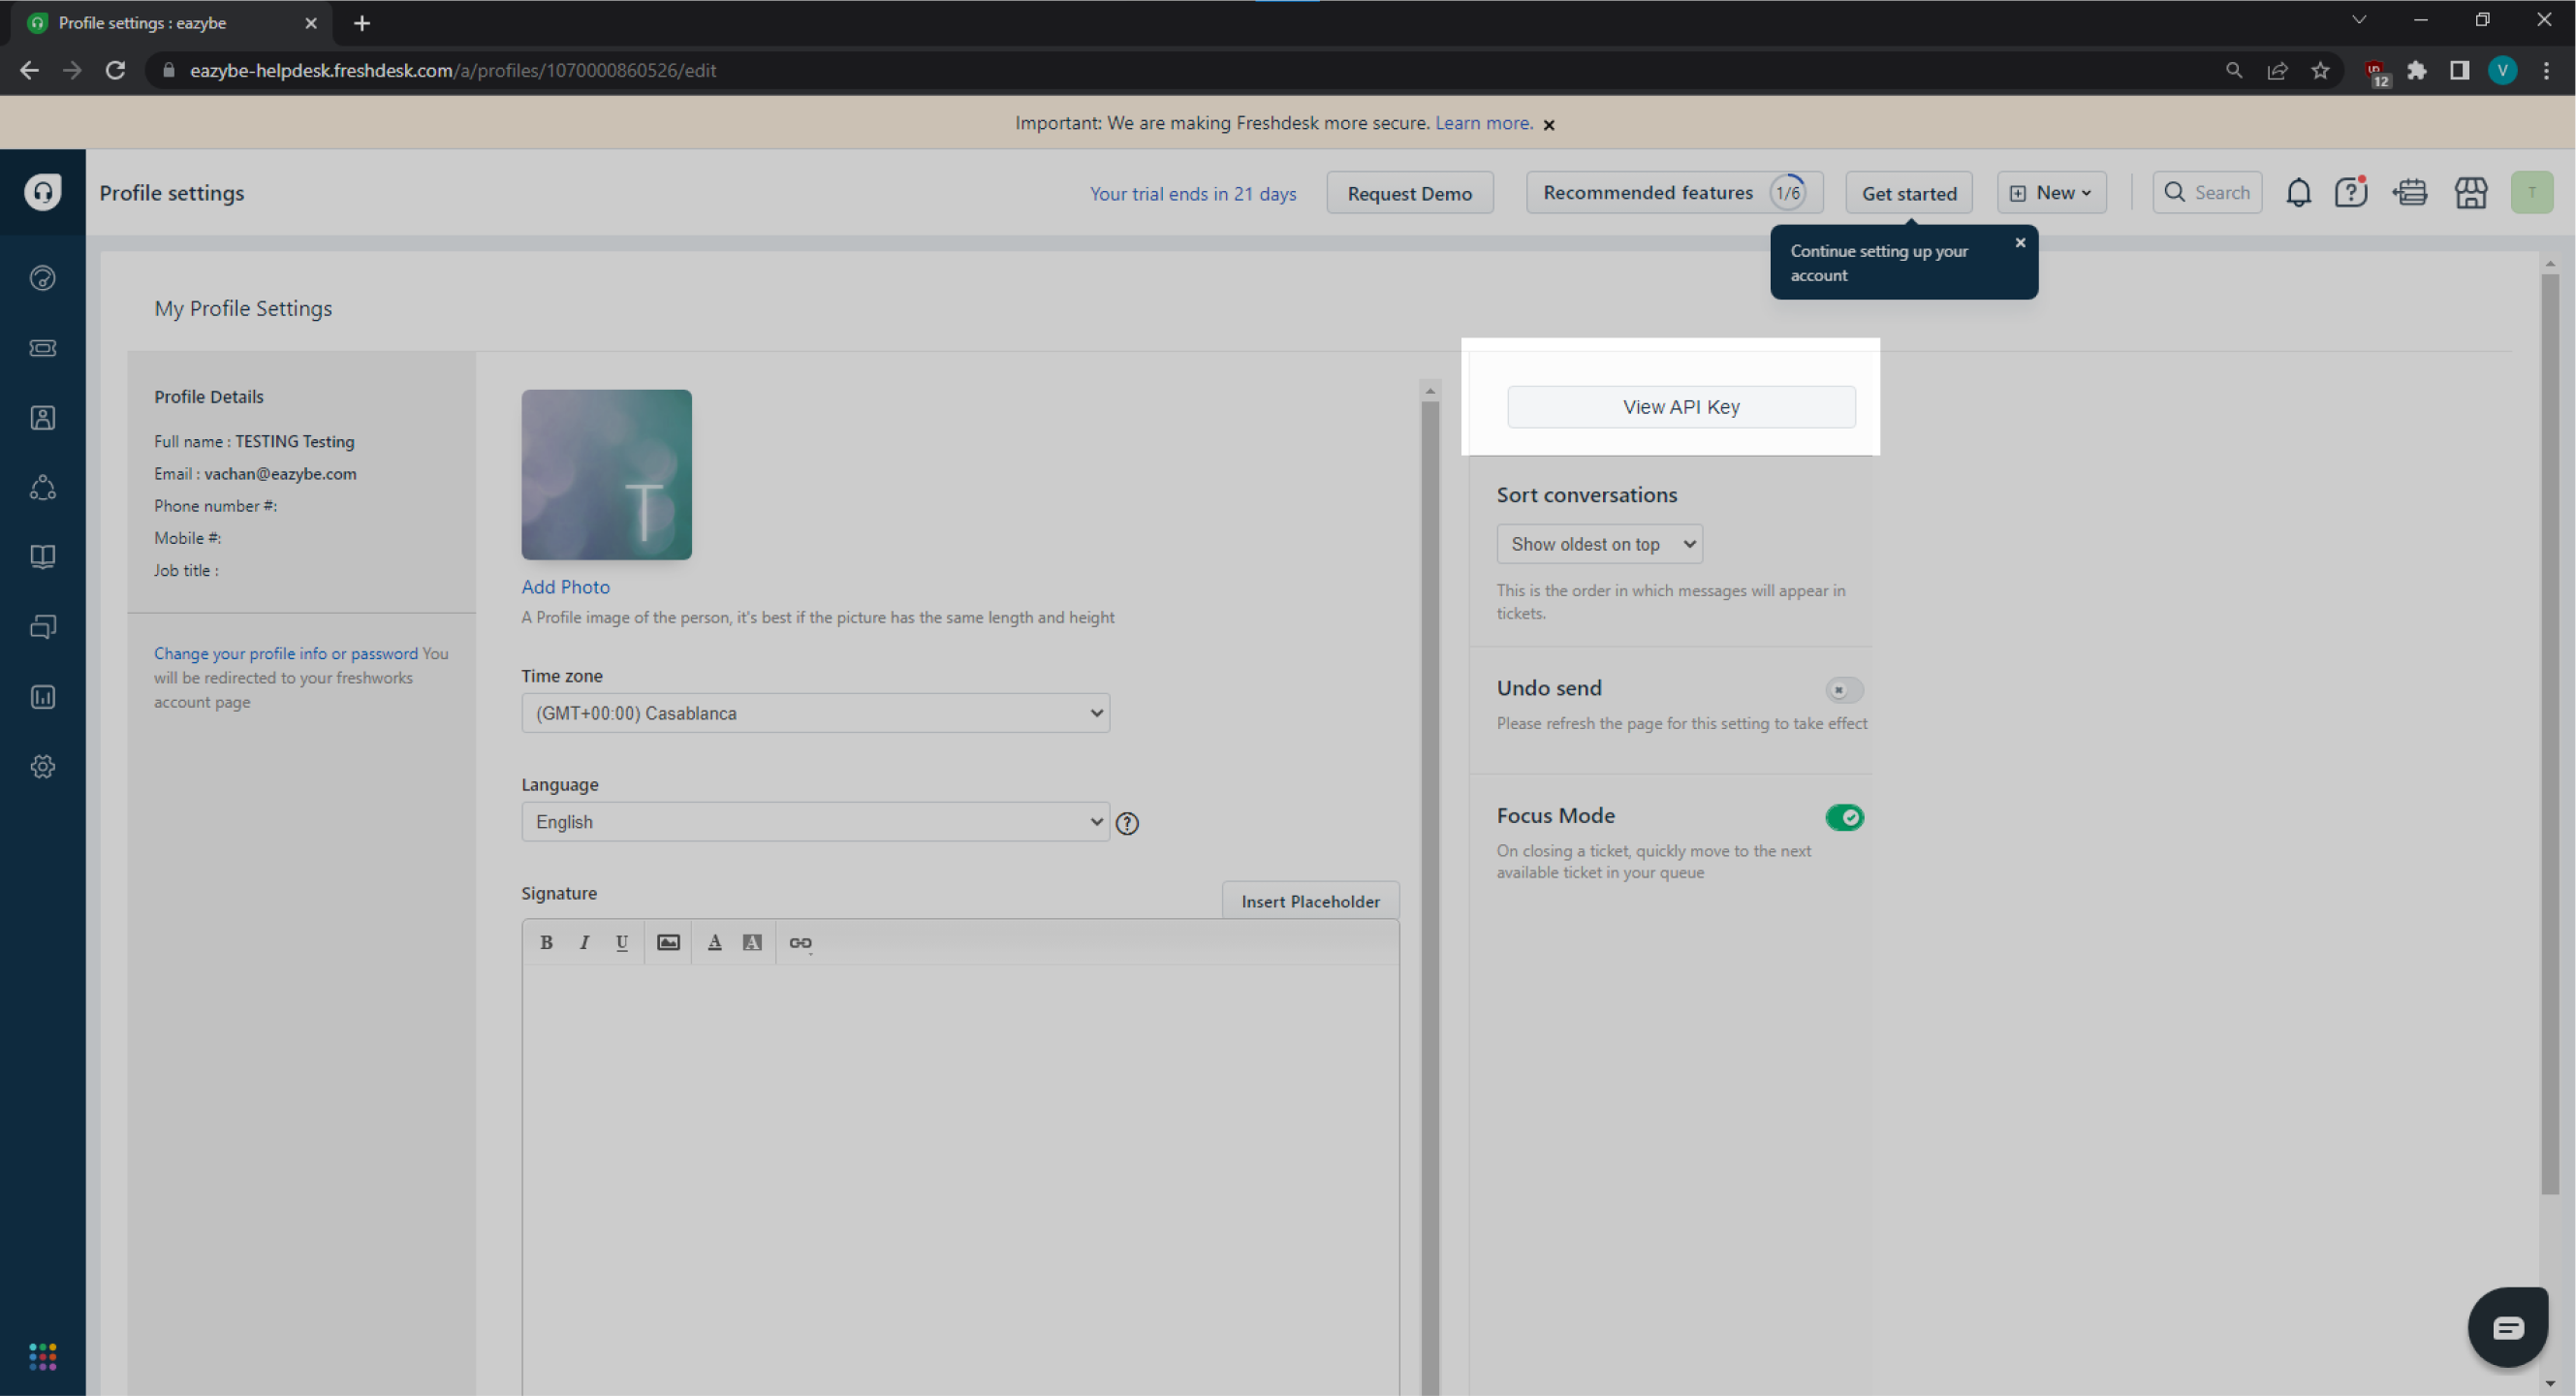
Keep your API key secure and do not share it publicly. You’ll need this key to complete the integration.
Connecting Freshdesk to EazyBe
1
Open WhatsApp Web
Access WhatsApp Web and ensure the EazyBe extension is active.
2
Access Integrations
Click on the Integrations button on the right-side bar in WhatsApp Web.
3
View Integration Options
Click the button to view the integration popup.
4
Select Freshdesk
Find the Freshdesk section and click Connect.
5
Choose Your Account
Select your Freshdesk account from the options.
6
Enter Account Details
Enter your Freshdesk domain name and API key that you obtained earlier.
7
Confirm Integration
Once completed, you’ll receive confirmation that the integration was successful.