Step-by-Step Connection Guide
1
Navigate to Get Started Page
Access your Eazybe dashboard and go to Get Started → Connect with Facebook.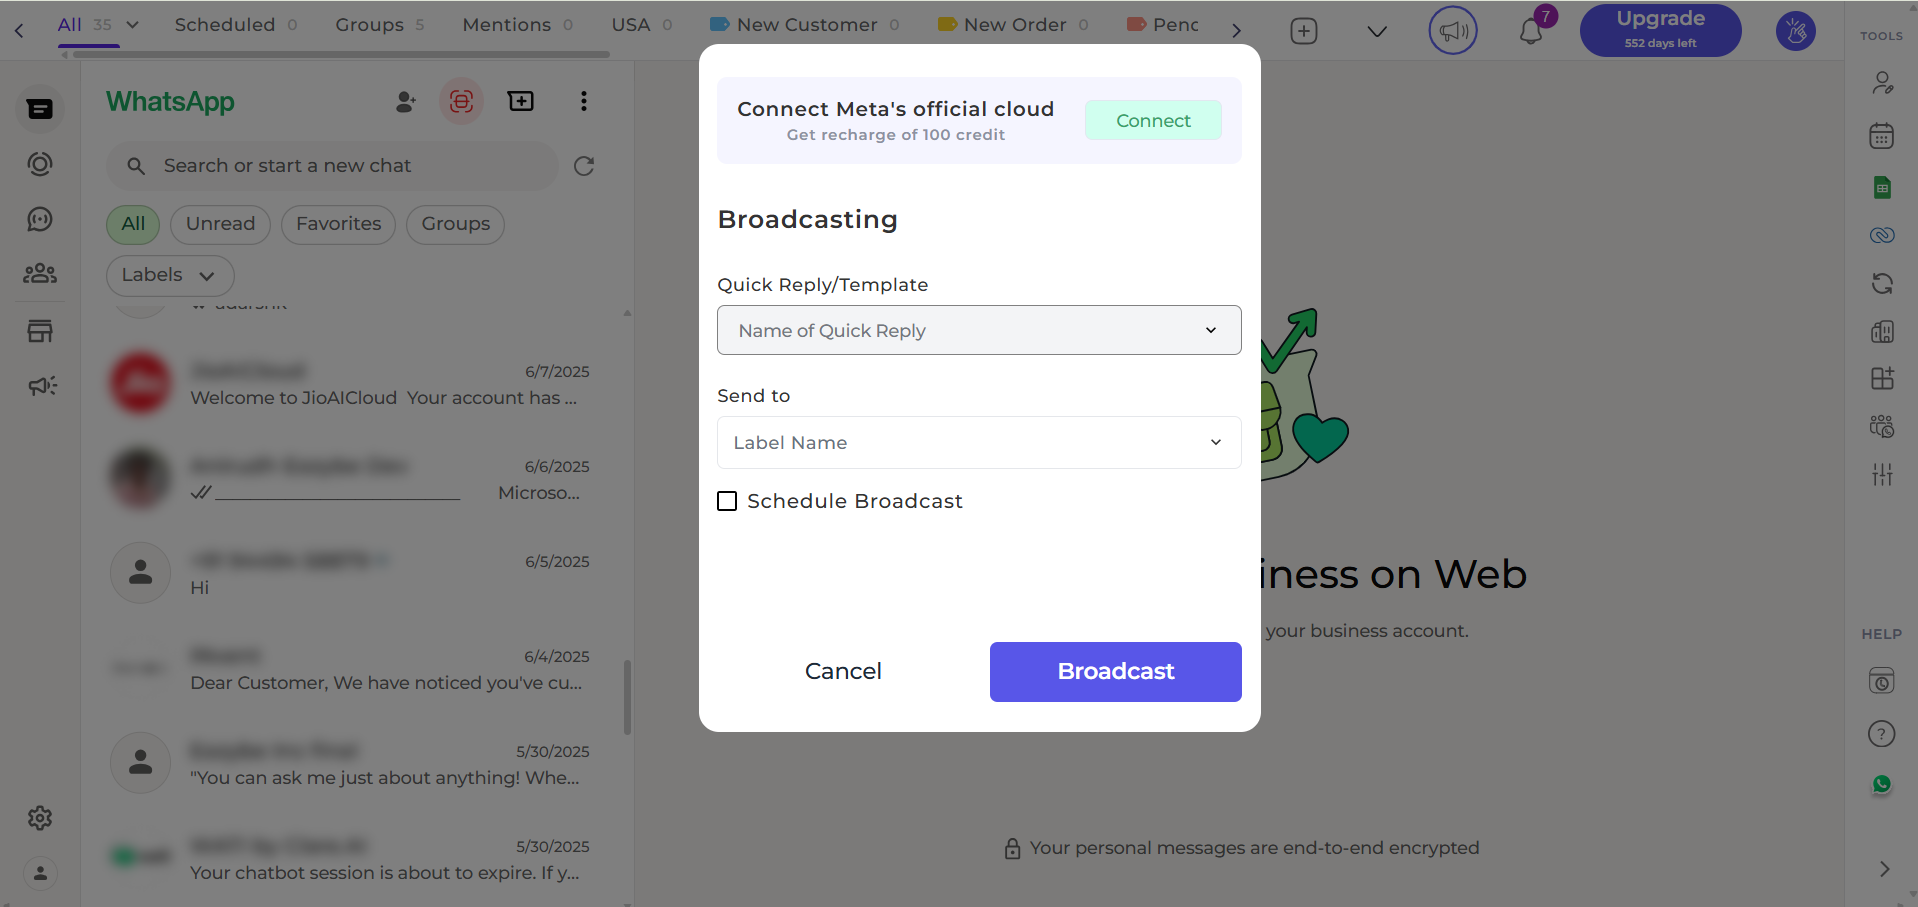
2
Start the Connection
Click “Connect with Facebook” to open Meta’s secure setup window.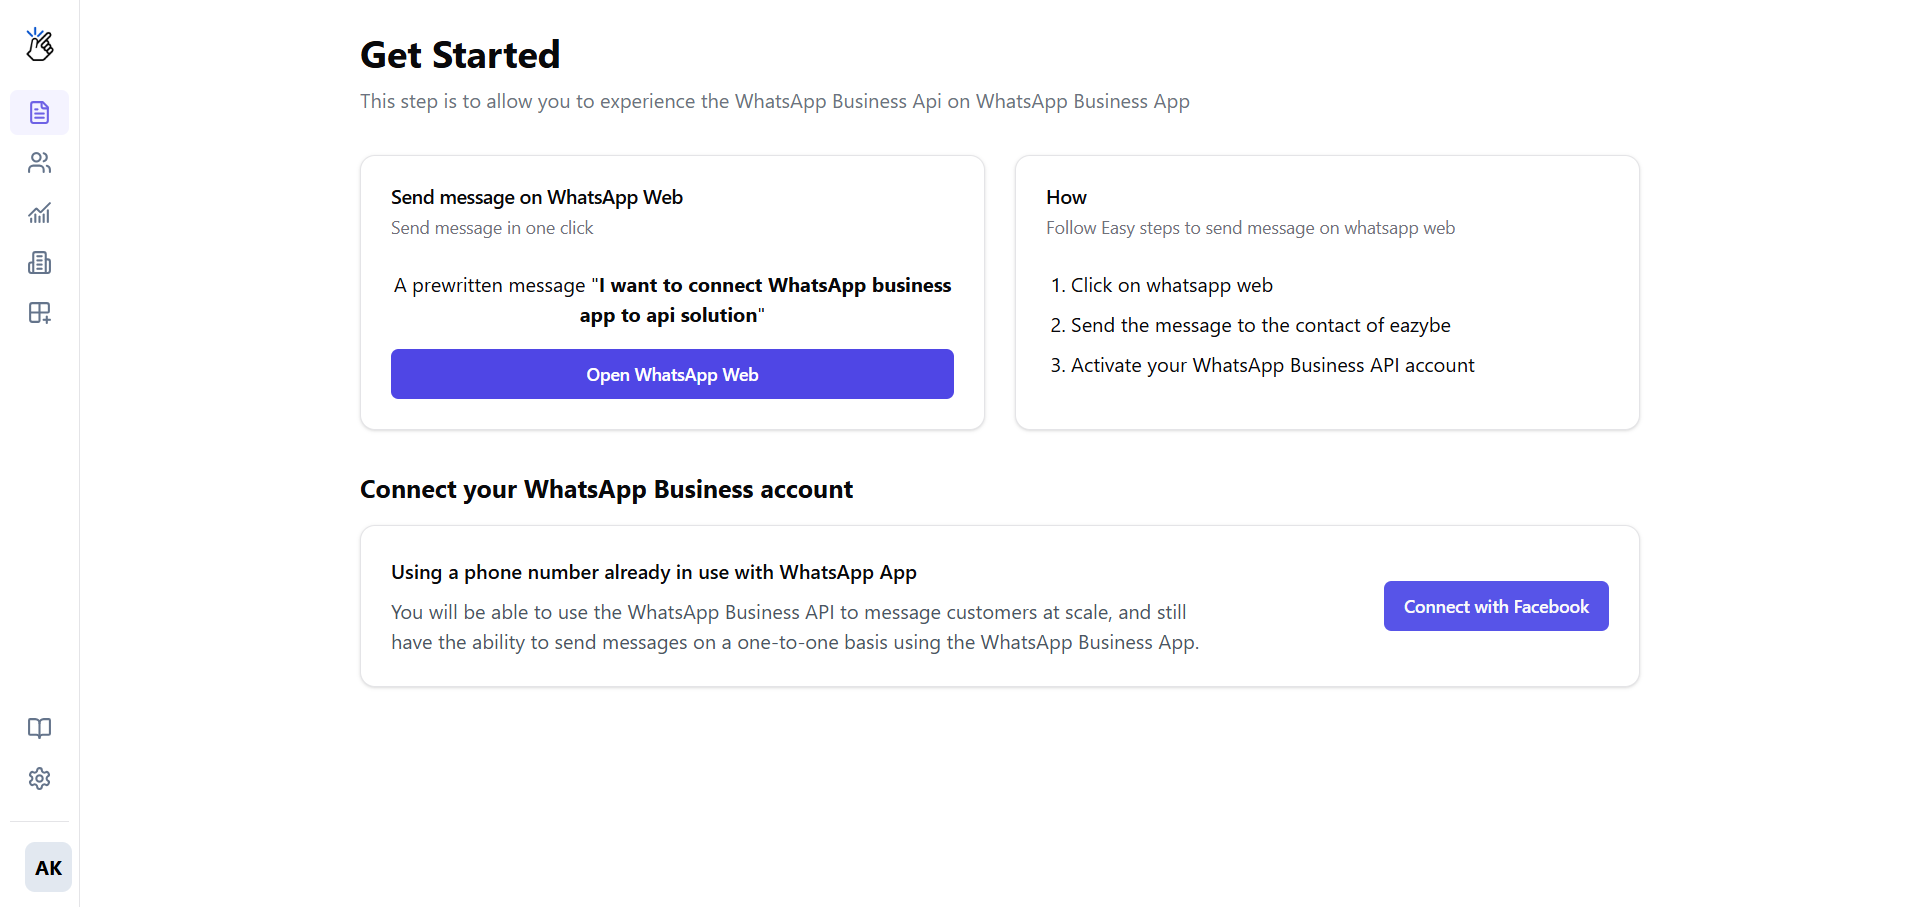
This popup is managed by Facebook. Eazybe does not see or store your personal Facebook login details.
3
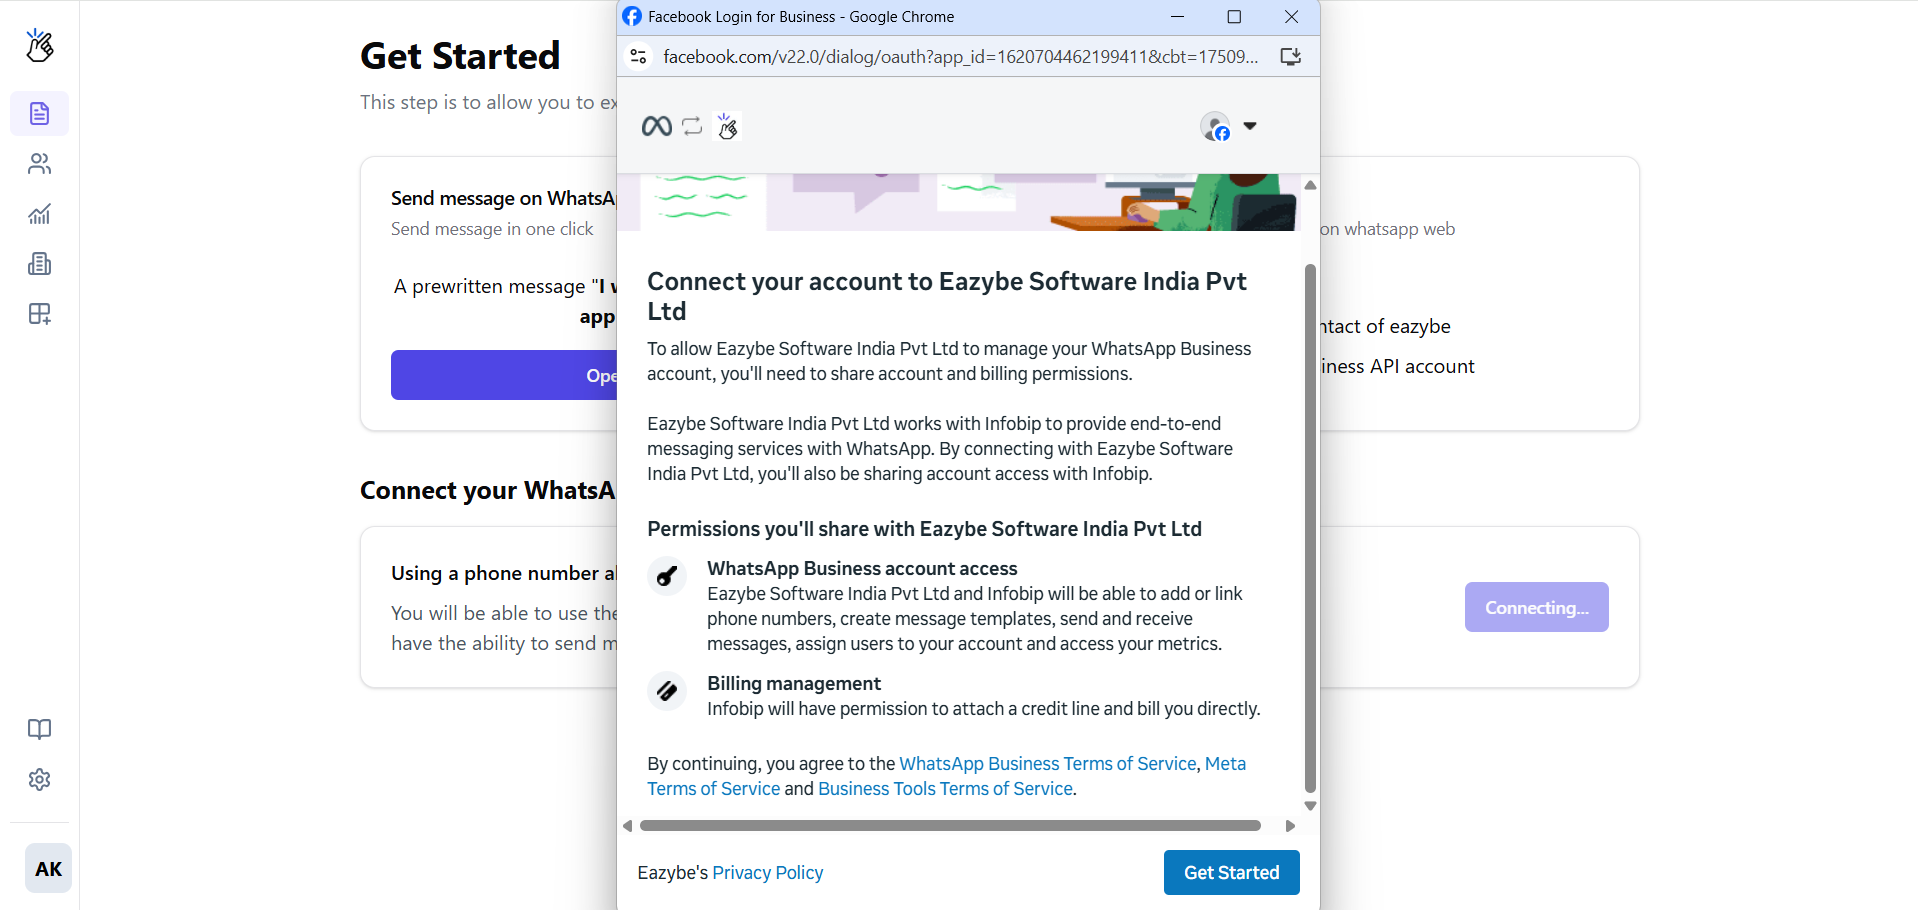
Log in and Grant Permissions
Log into the Facebook profile that has admin access to your Facebook Business Account.
4
Select Your Business Assets
Follow the prompts to configure your business setup:Choose or create a Meta Business Account: 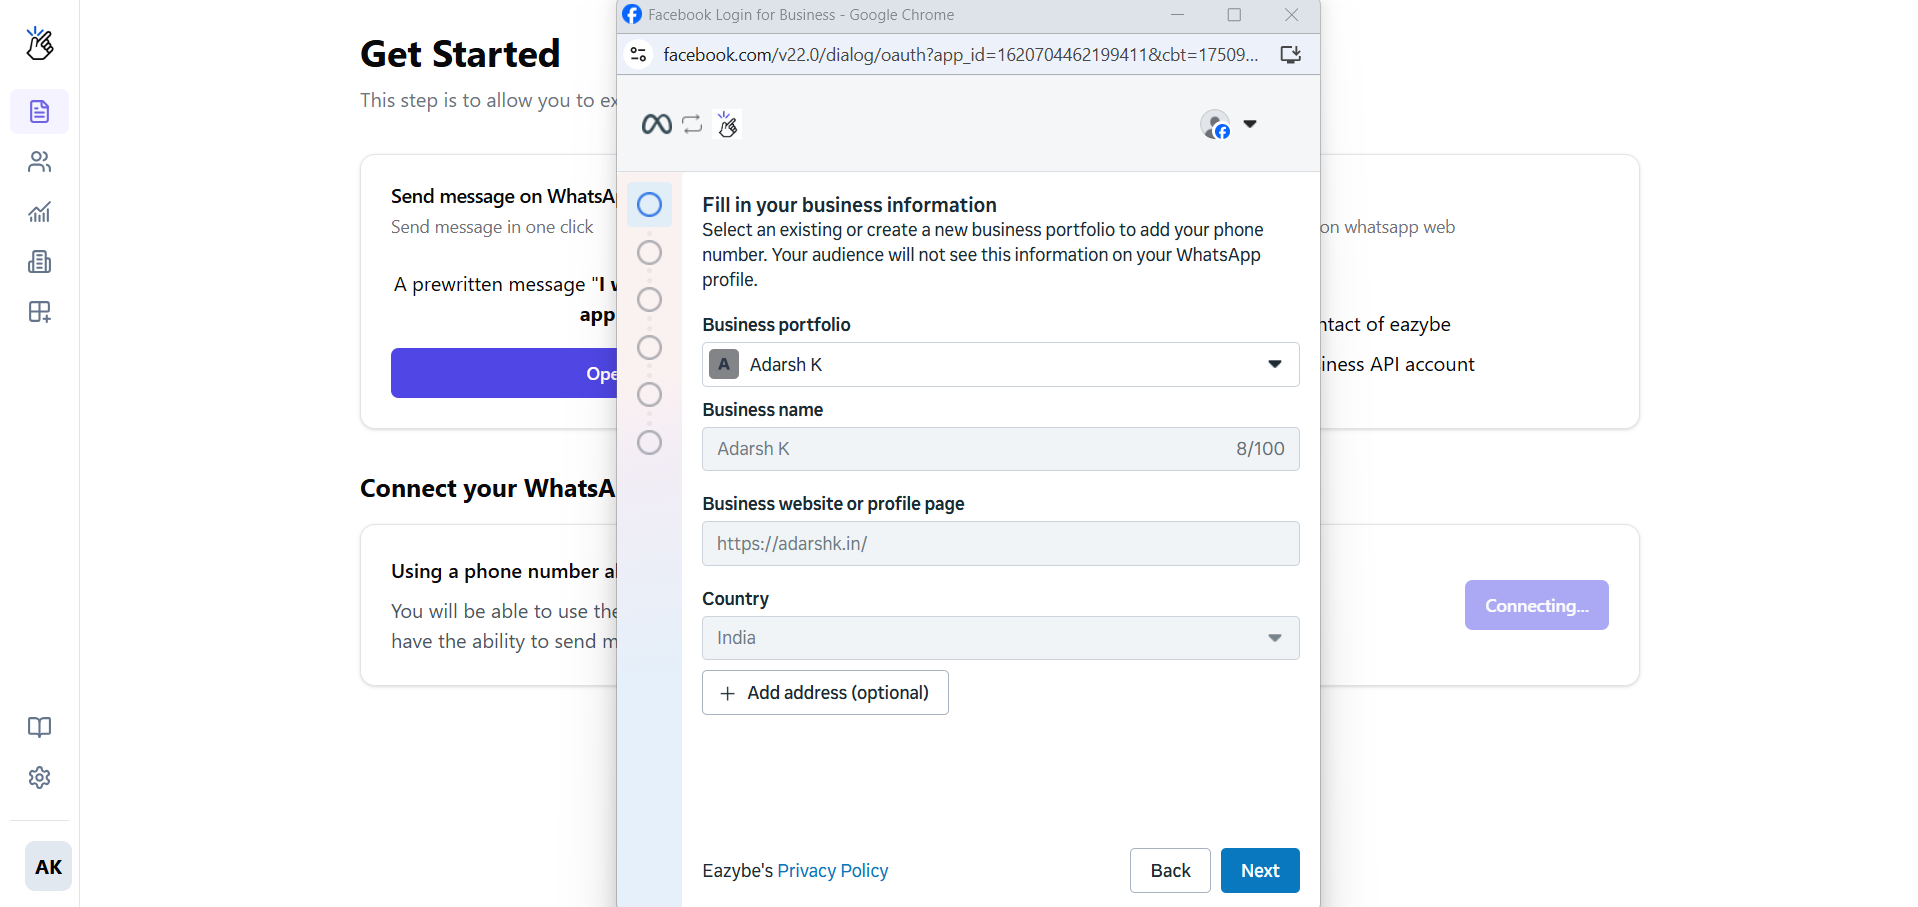 Choose or create a WhatsApp Business Account (WABA):
 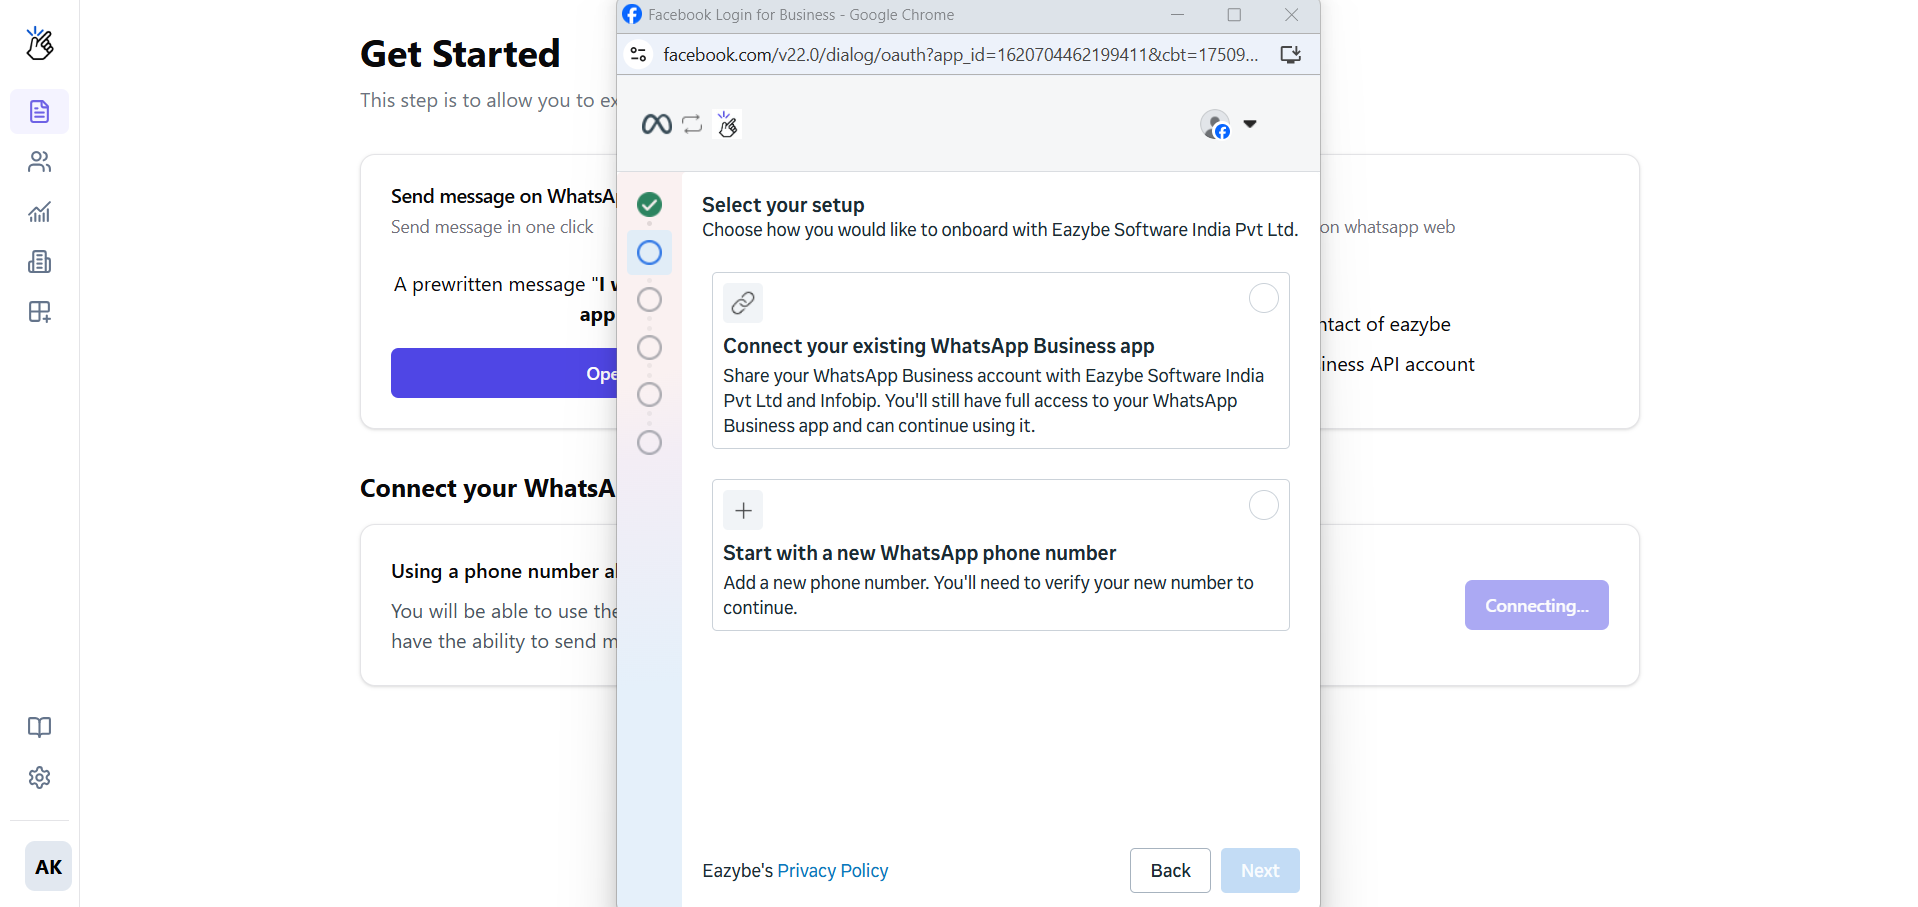 Choose or create your WhatsApp Business Profile:
Choose or create a WhatsApp Business Account (WABA): Choose or create your WhatsApp Business Profile: 5
Verify Your Phone Number
Connect to an existing WhatsApp Business number or add a new one.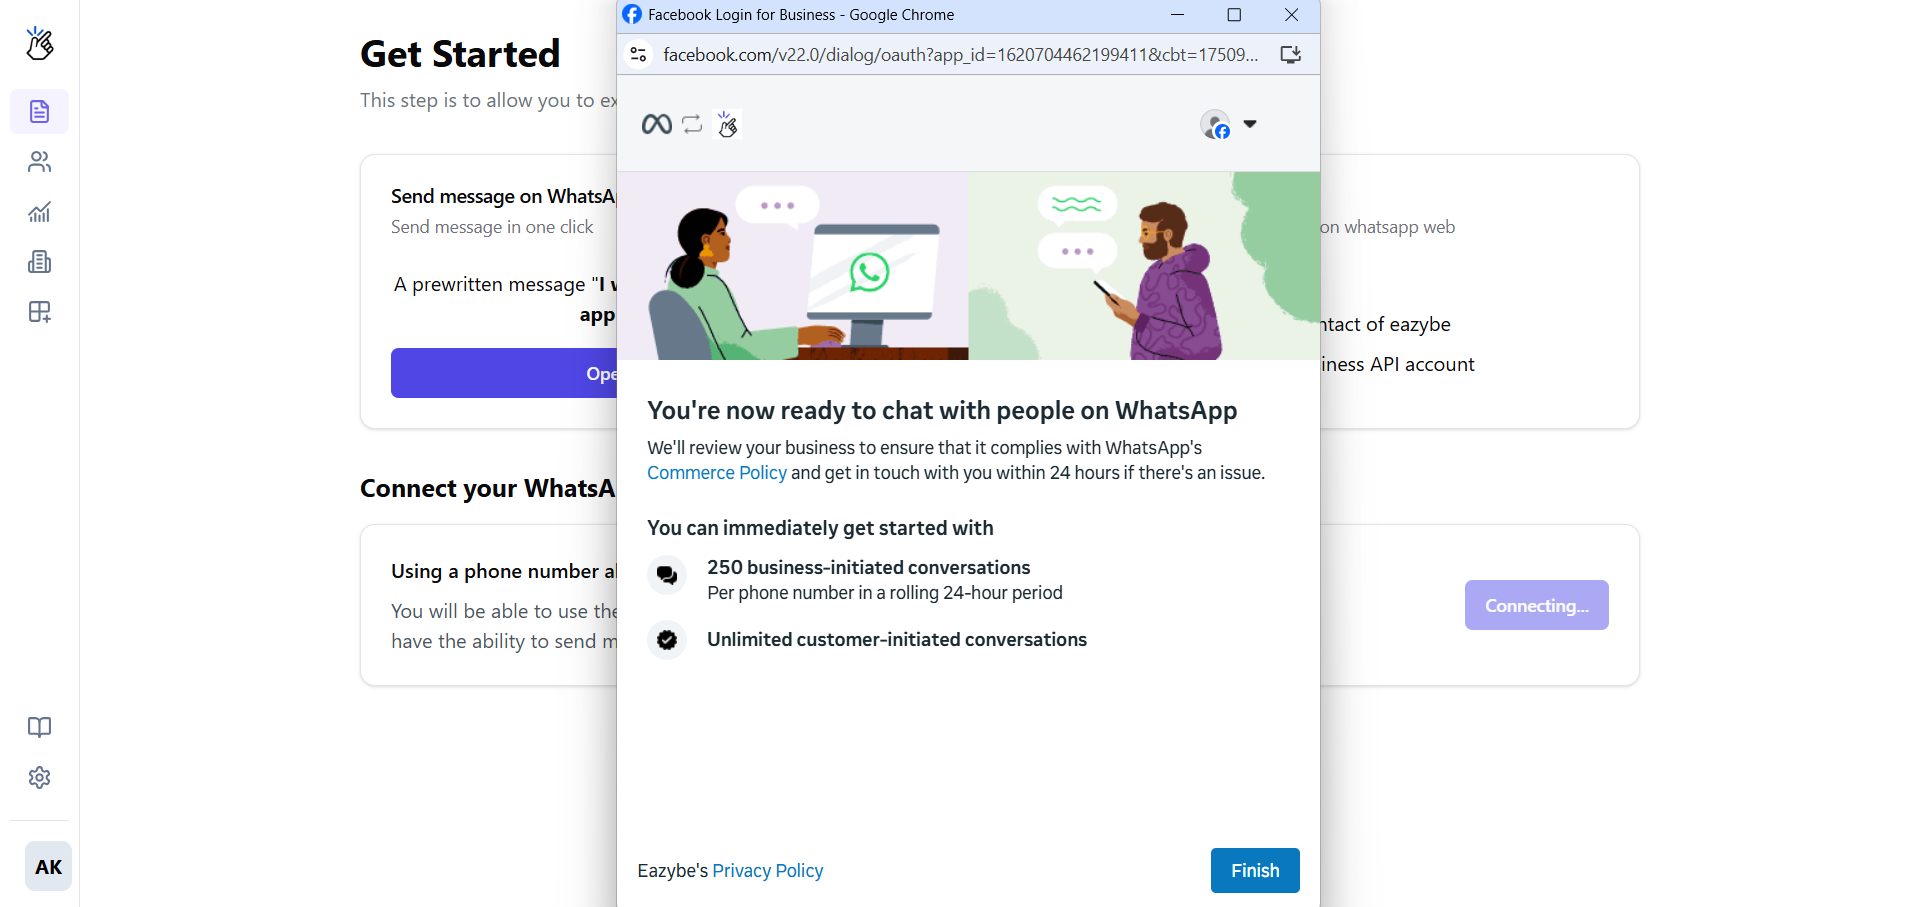
6
Complete the Setup
Review your selections and click Finish.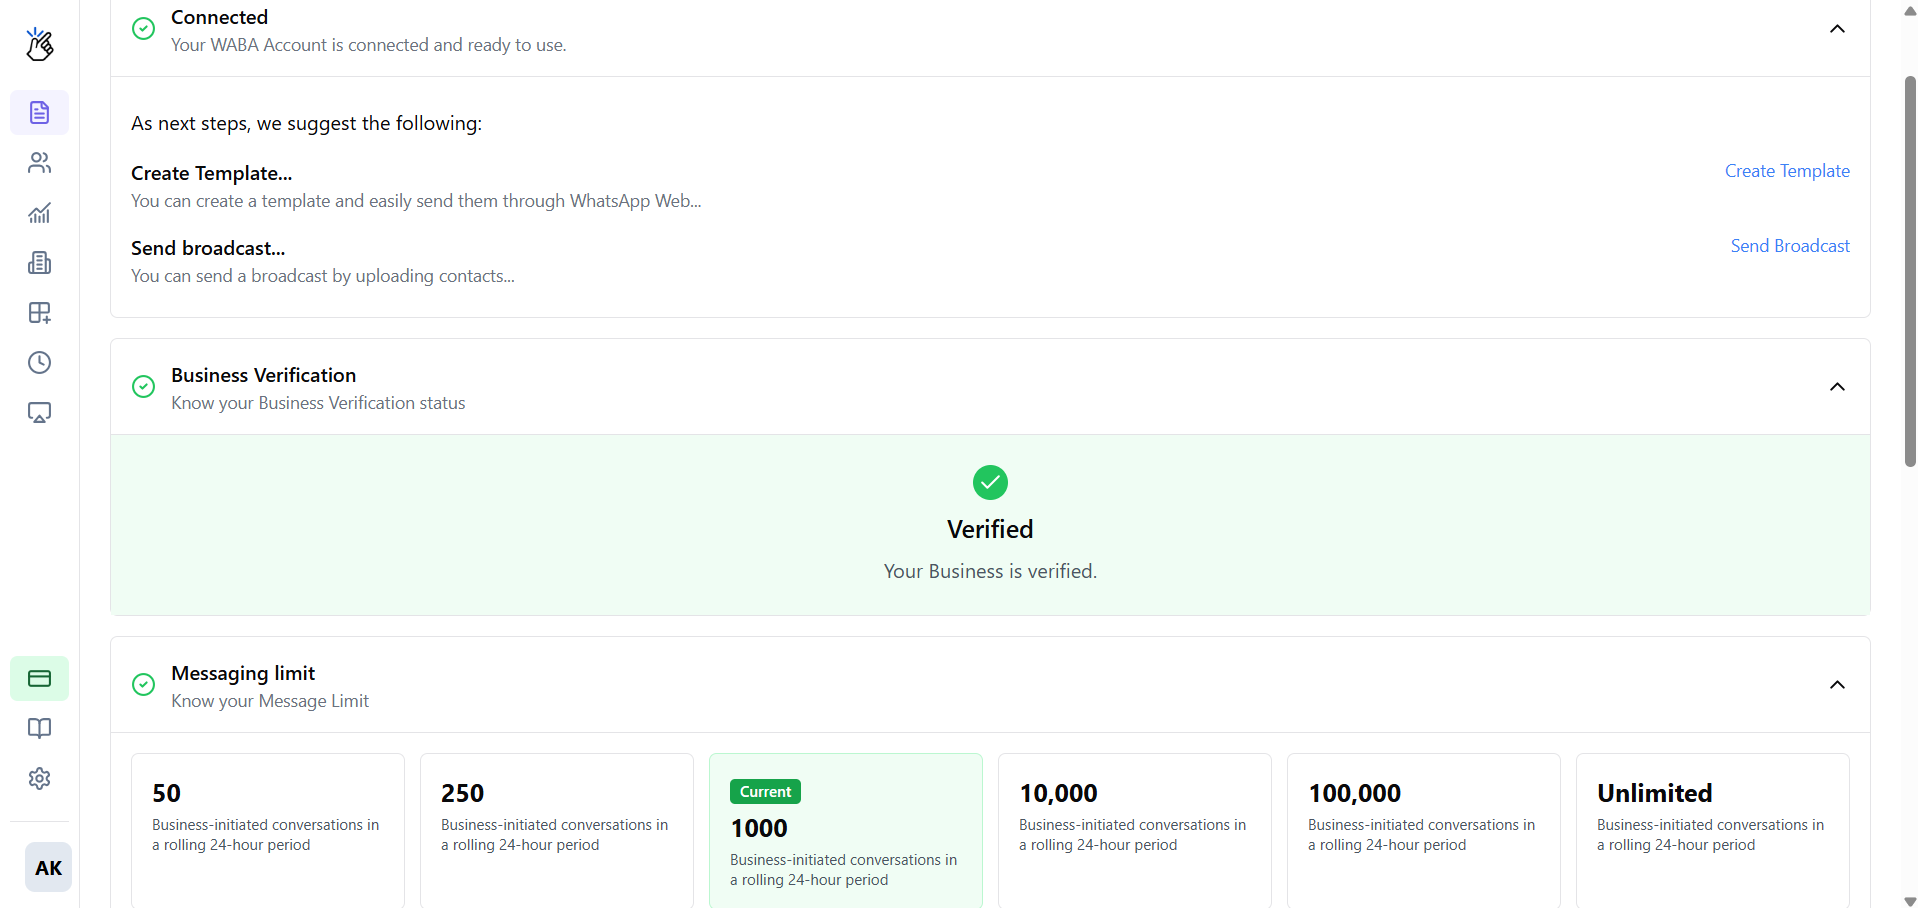
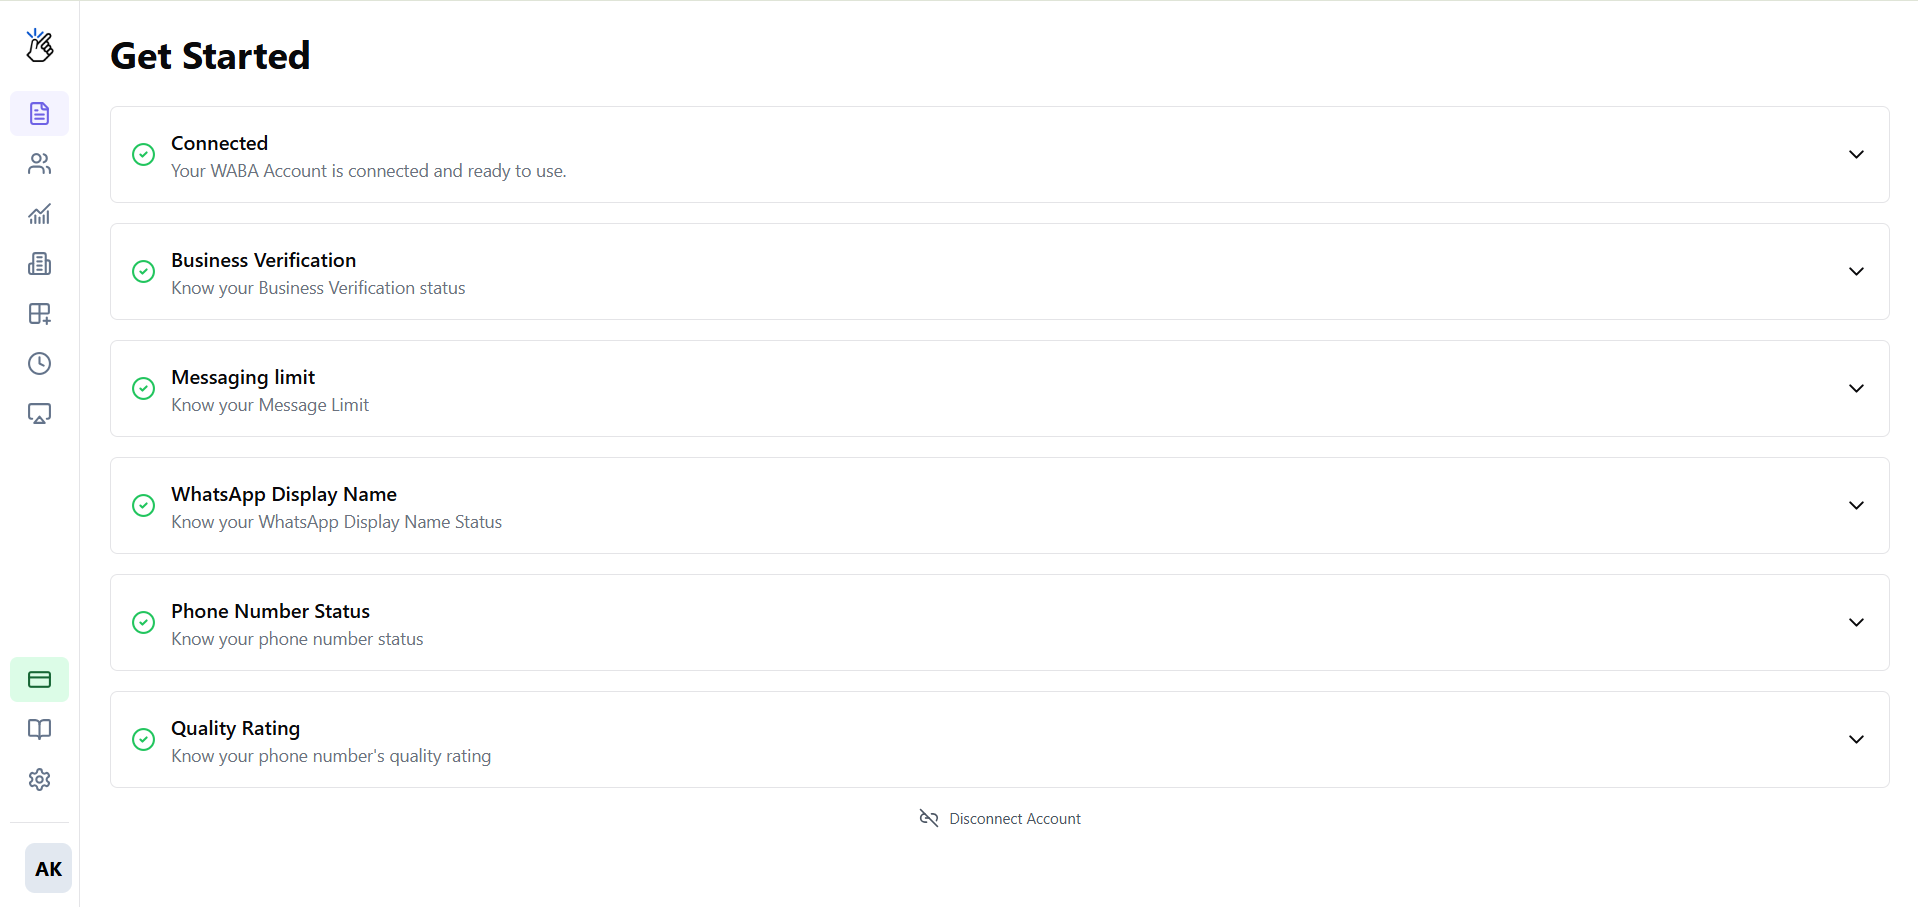
Connection Complete
Your WABA is now connected to Eazybe! You’ll be redirected back to your dashboard, where you can see the connection status.Create Templates
Design and submit message templates for Meta approval
Send Broadcasts
Launch your first broadcast campaign