

Send Your First Broadcast
- From Workspace
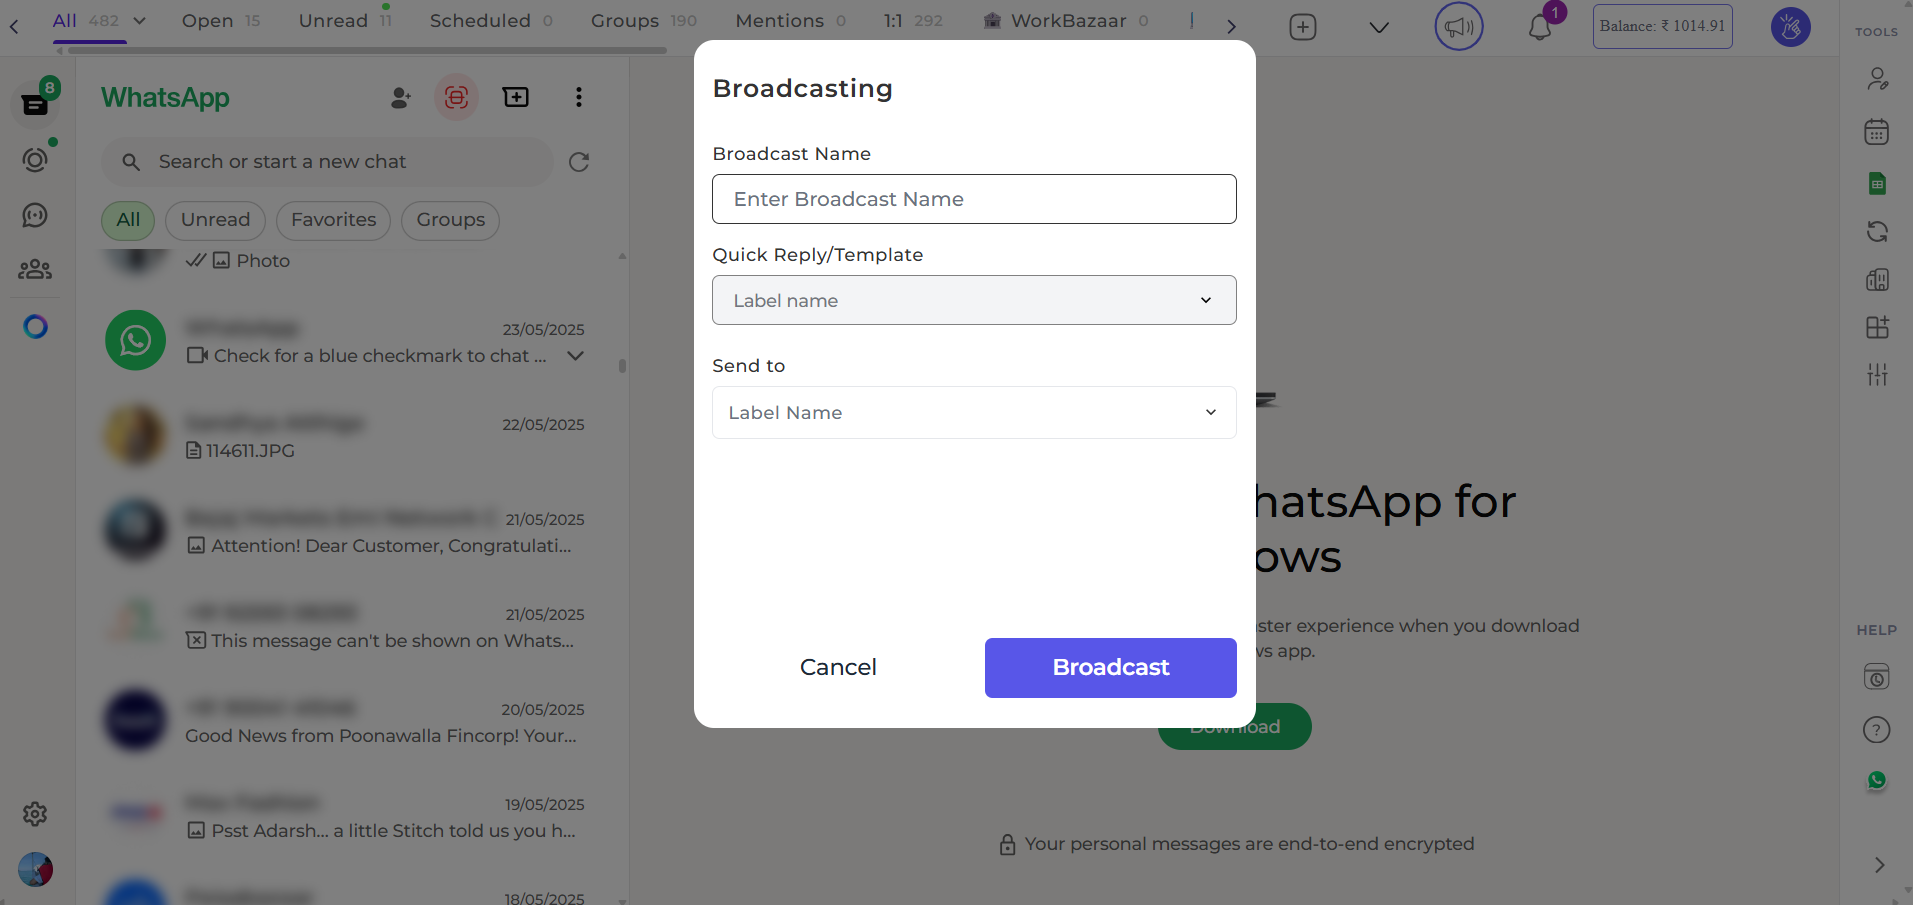
- From Extension
1
Navigate to Broadcasts
Go to Workspace → Broadcasts → Create Broadcast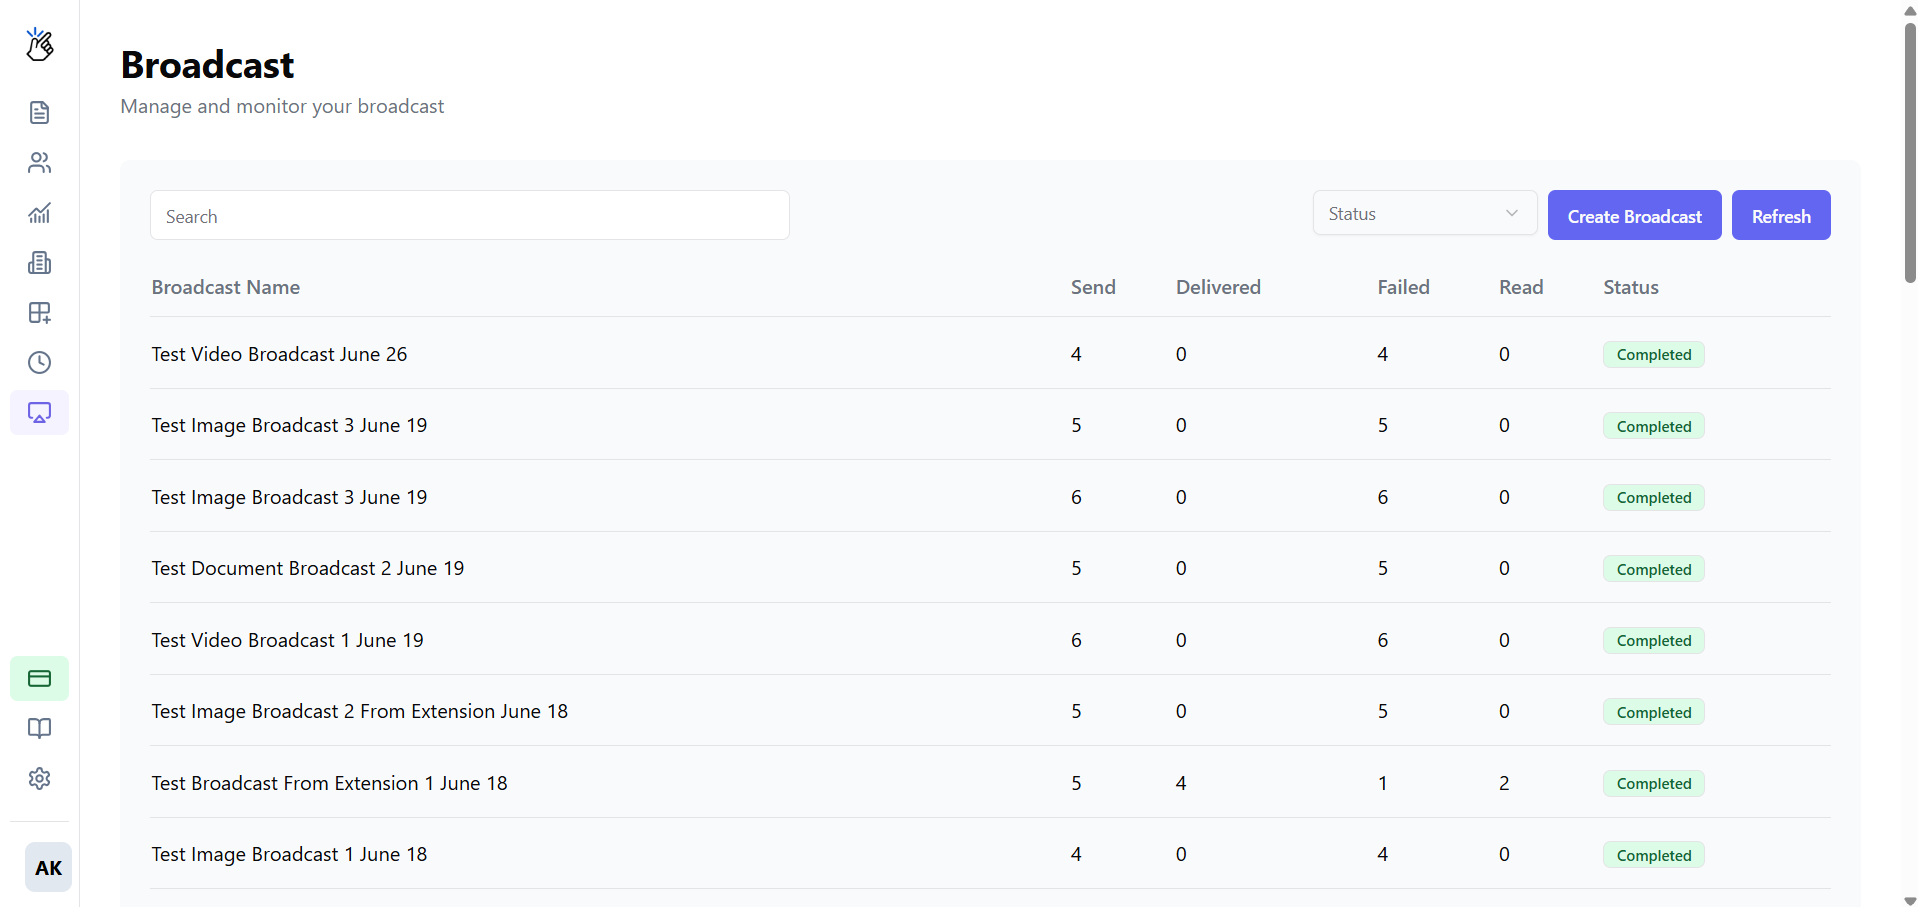
2
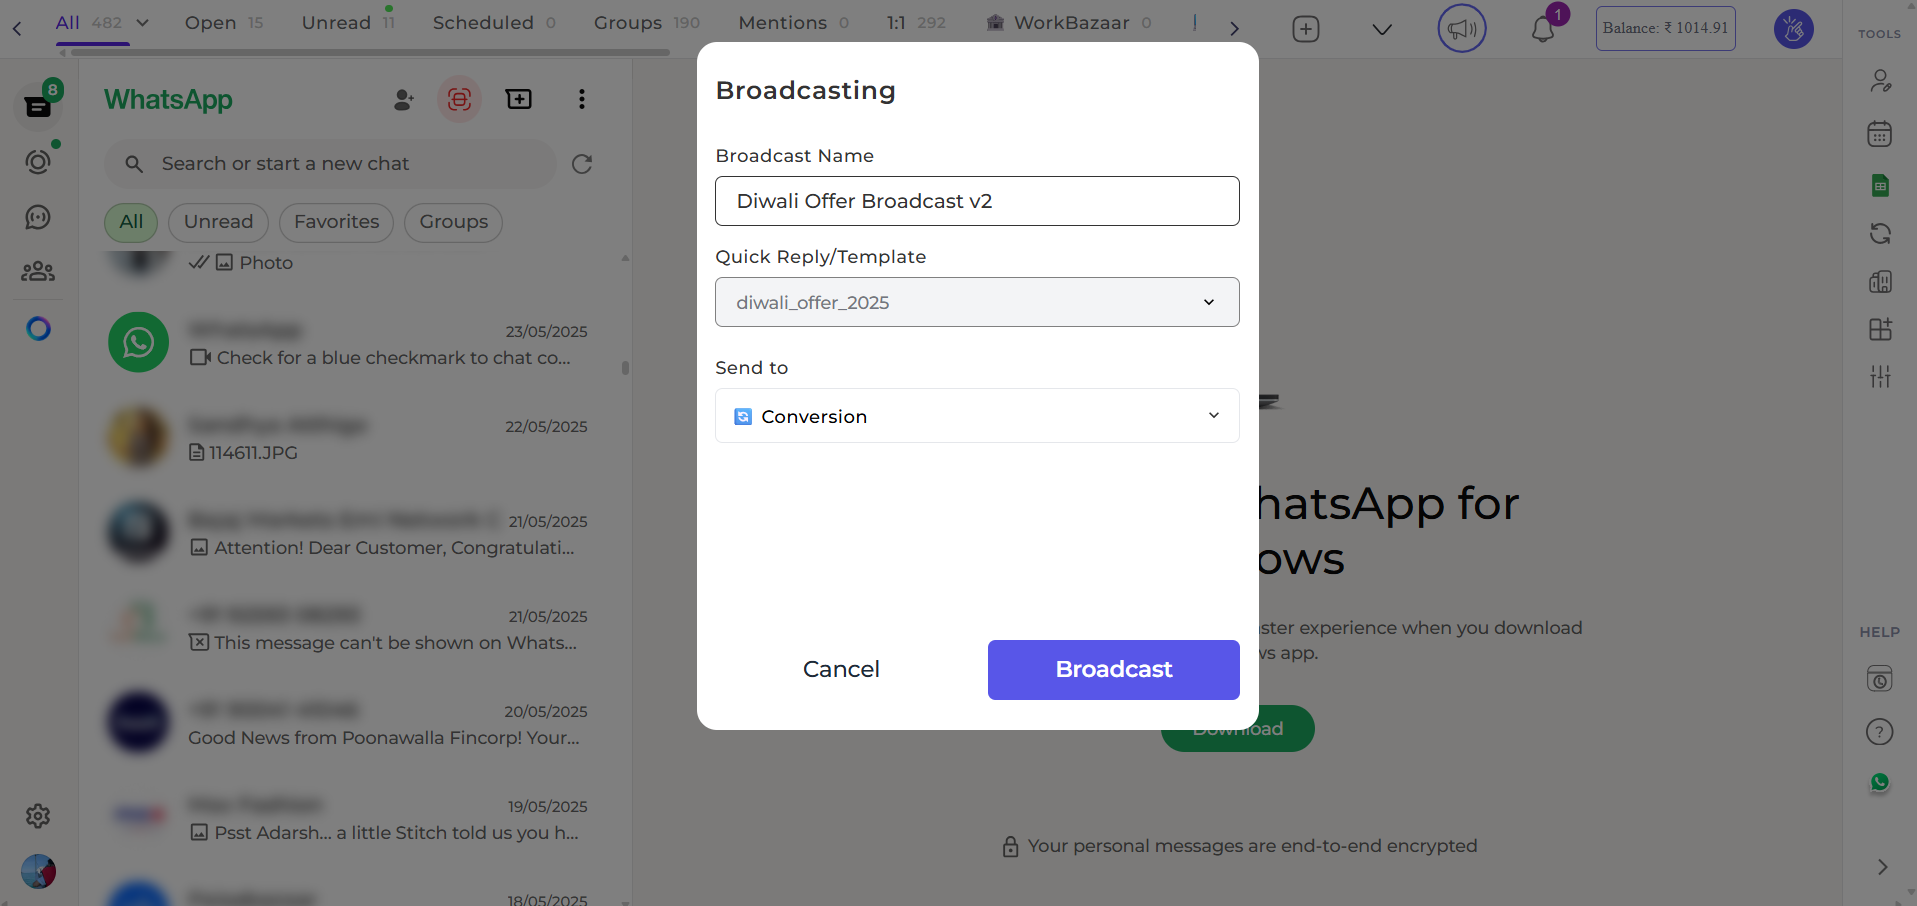
Name Your Campaign
Give your broadcast a clear, internal name: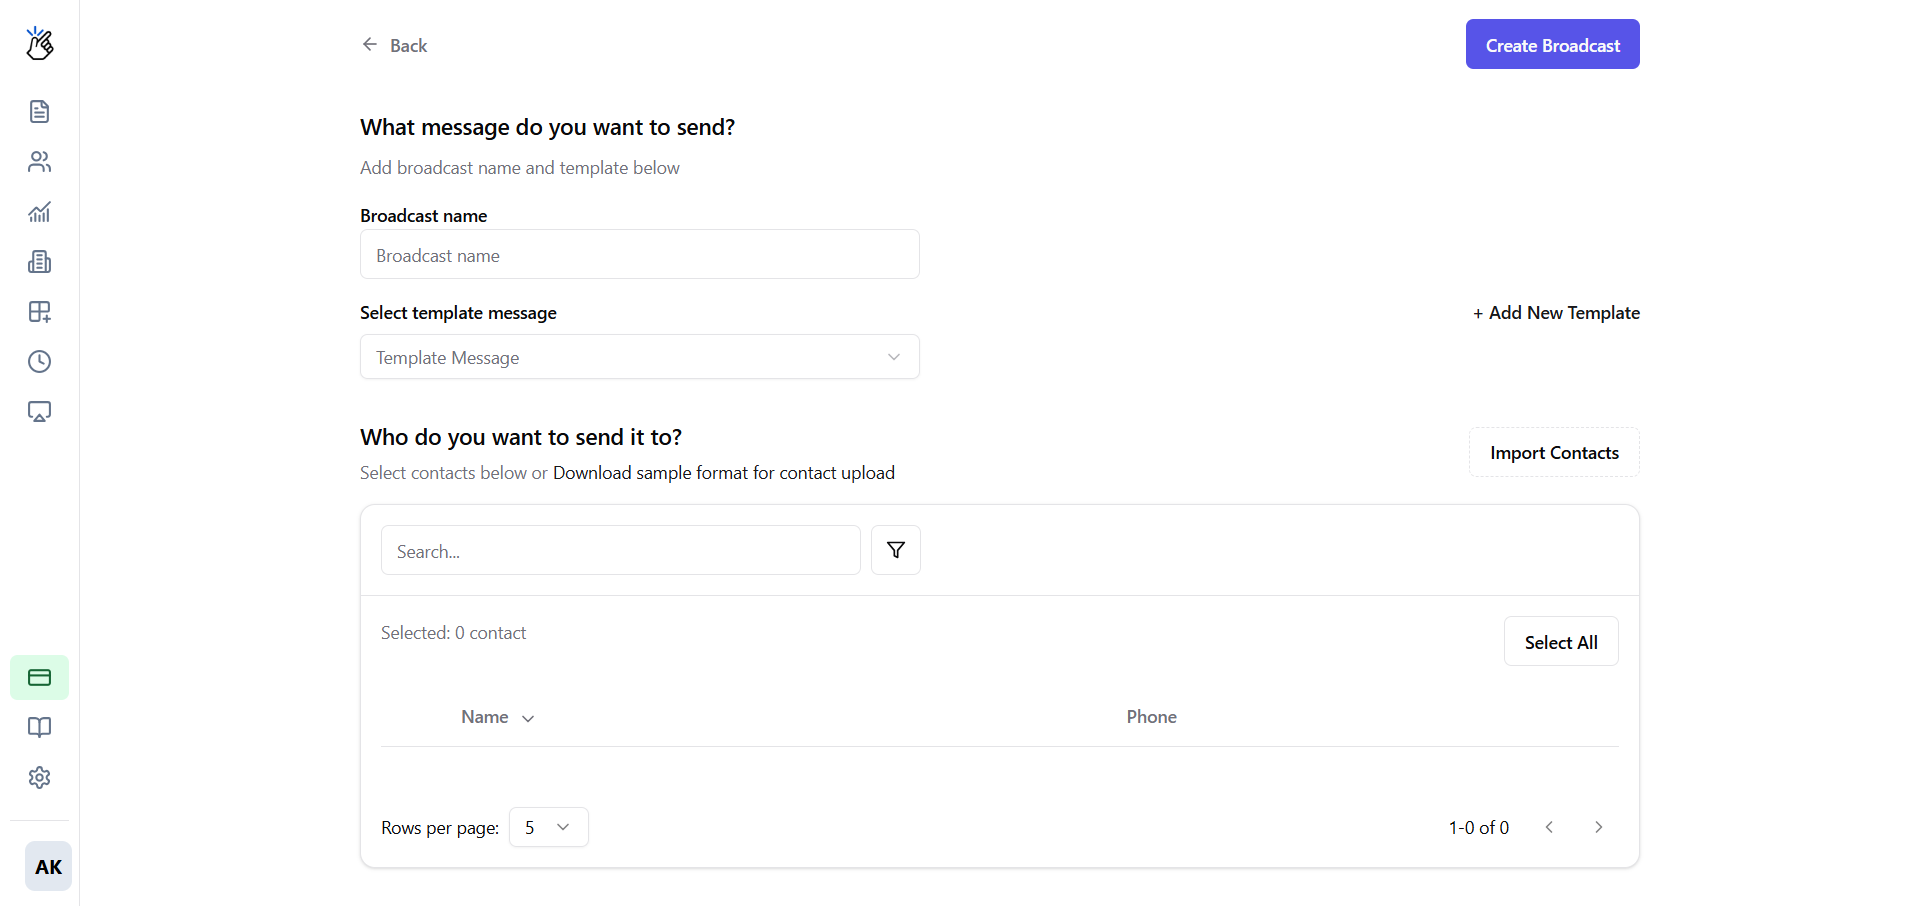
- ✅ “January_Sale_2026”
- ✅ “Order_Update_Batch_5”
- ❌ “test” or “broadcast1”
3
Select Template
Choose an Approved template from the dropdown.
4
Upload Contacts
Option A: CSV UploadClick Upload CSV and select your file.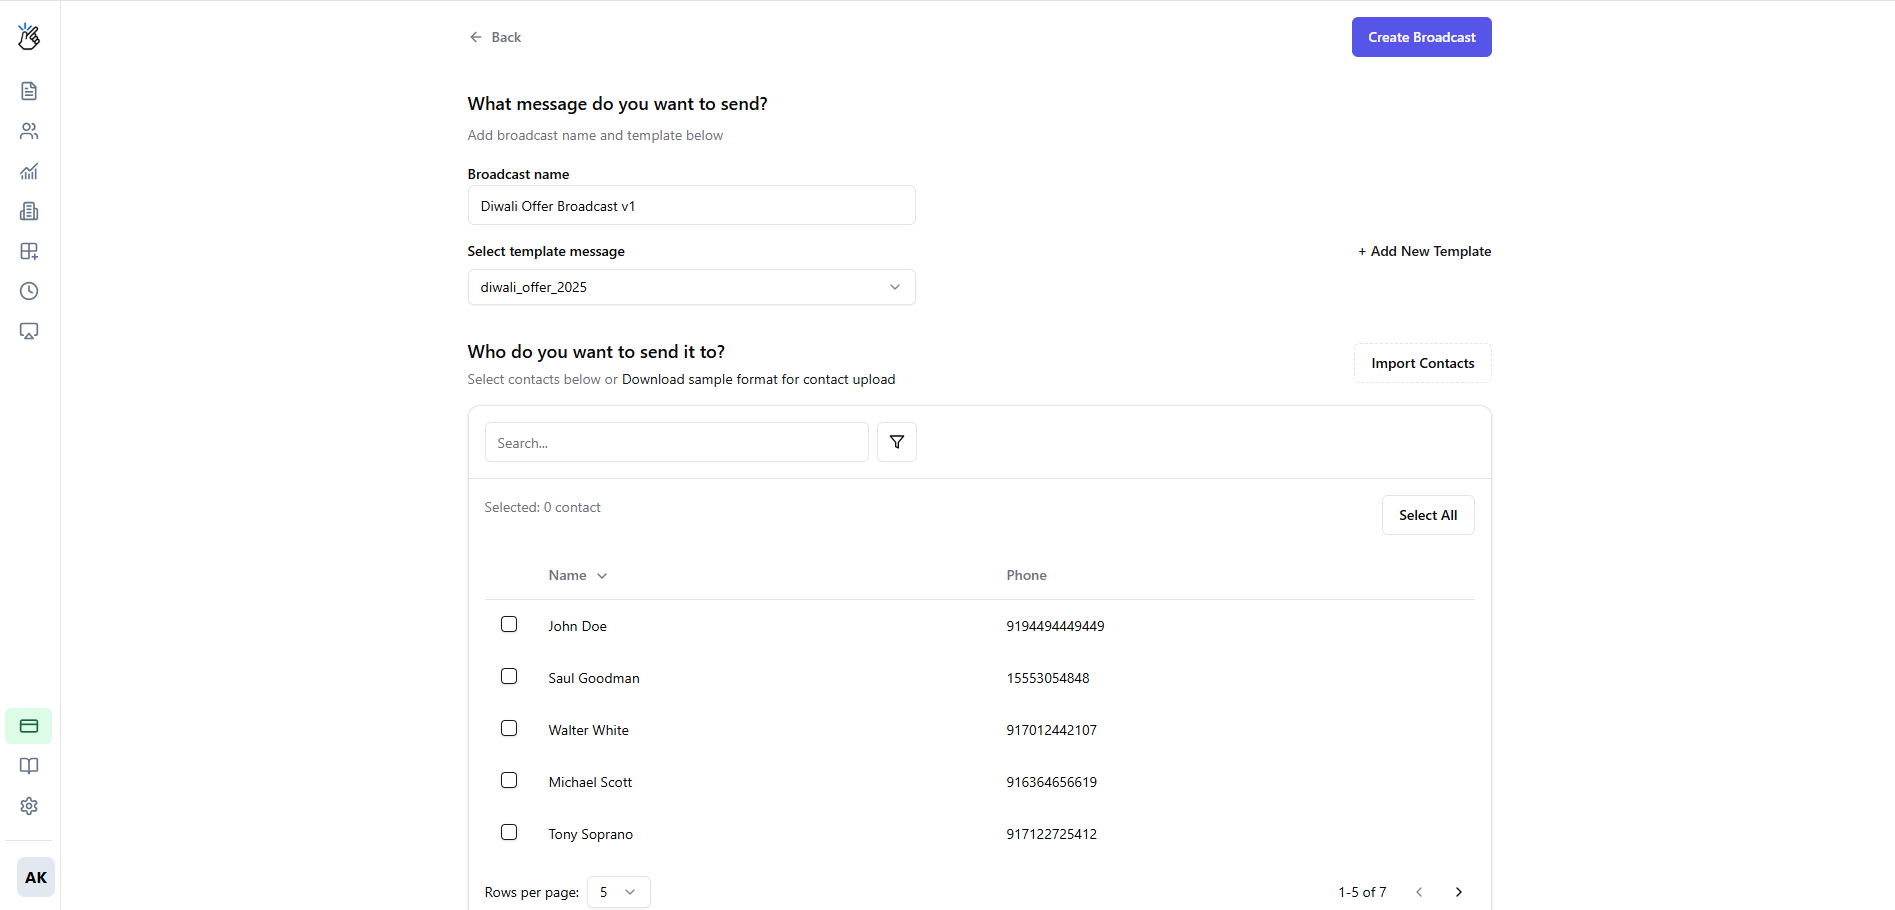
Phone numbers must be in international format without + sign (e.g., 919876543210 for India)
5
Select Recipients
Review imported contacts and select which ones to include: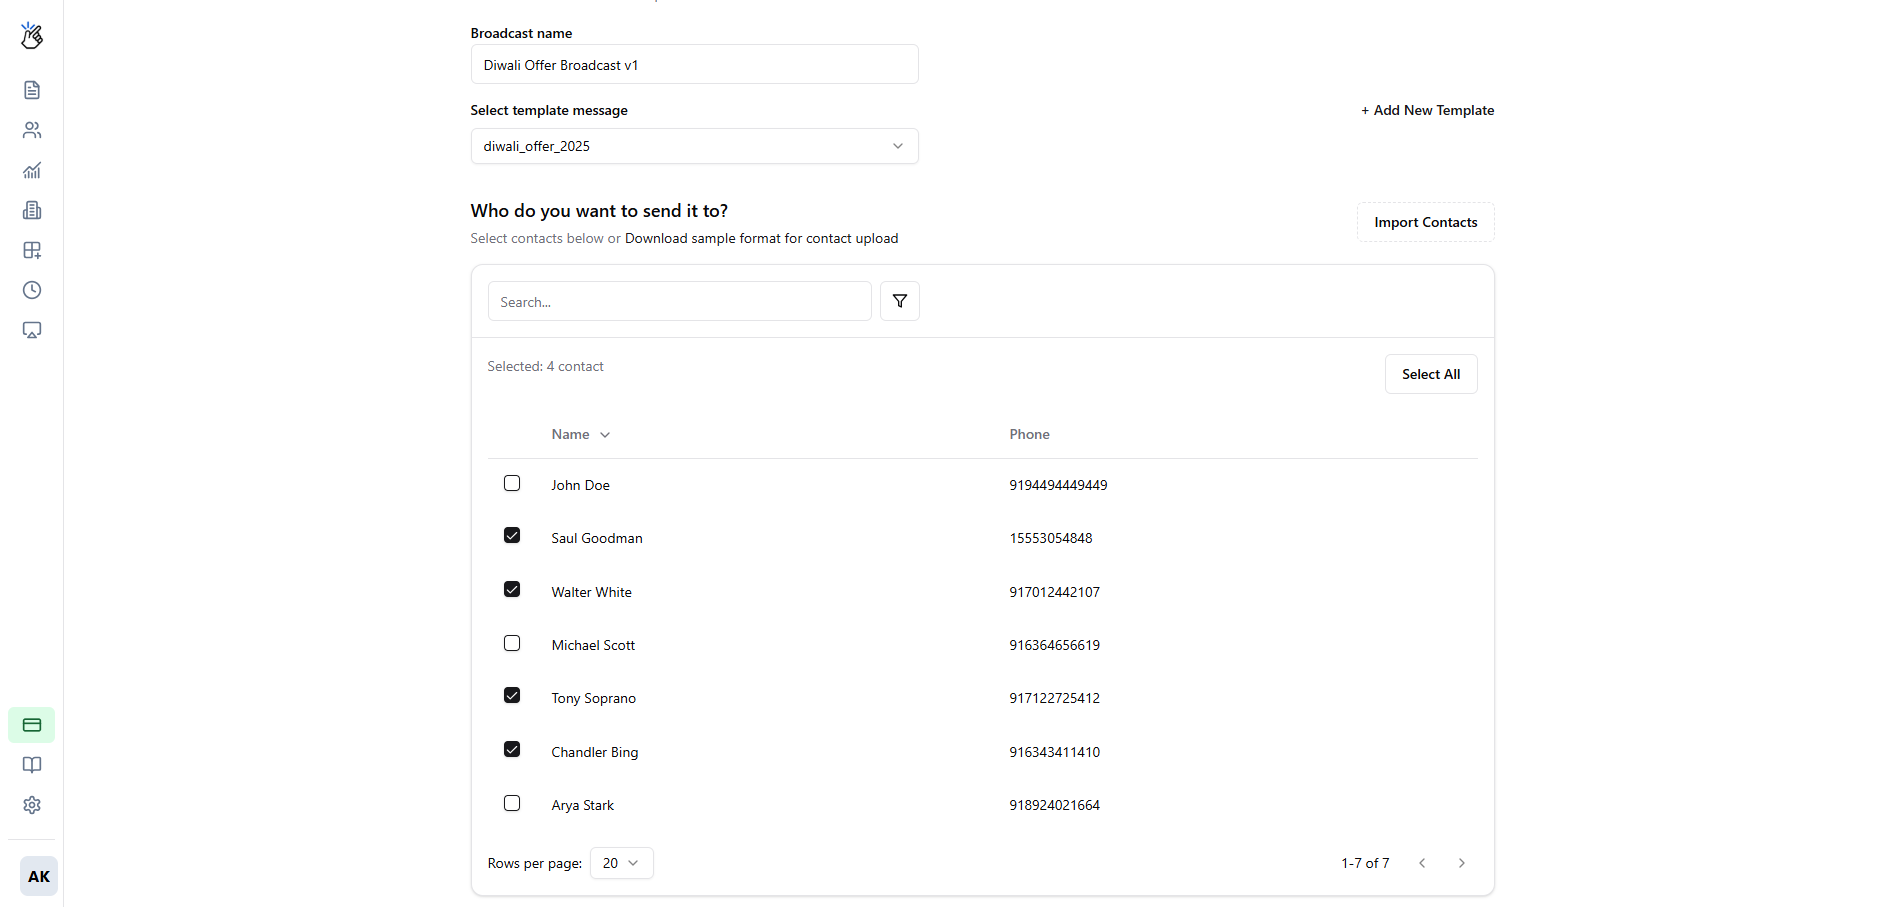
- ✅ Select All
- ✅ Individual selection
- ❌ Exclude invalid numbers
6
Fill Variables
If your template has variables (
{{1}}, {{2}}), map them to CSV columns or enter values:7
Preview & Send
Review the preview, then click Send Broadcast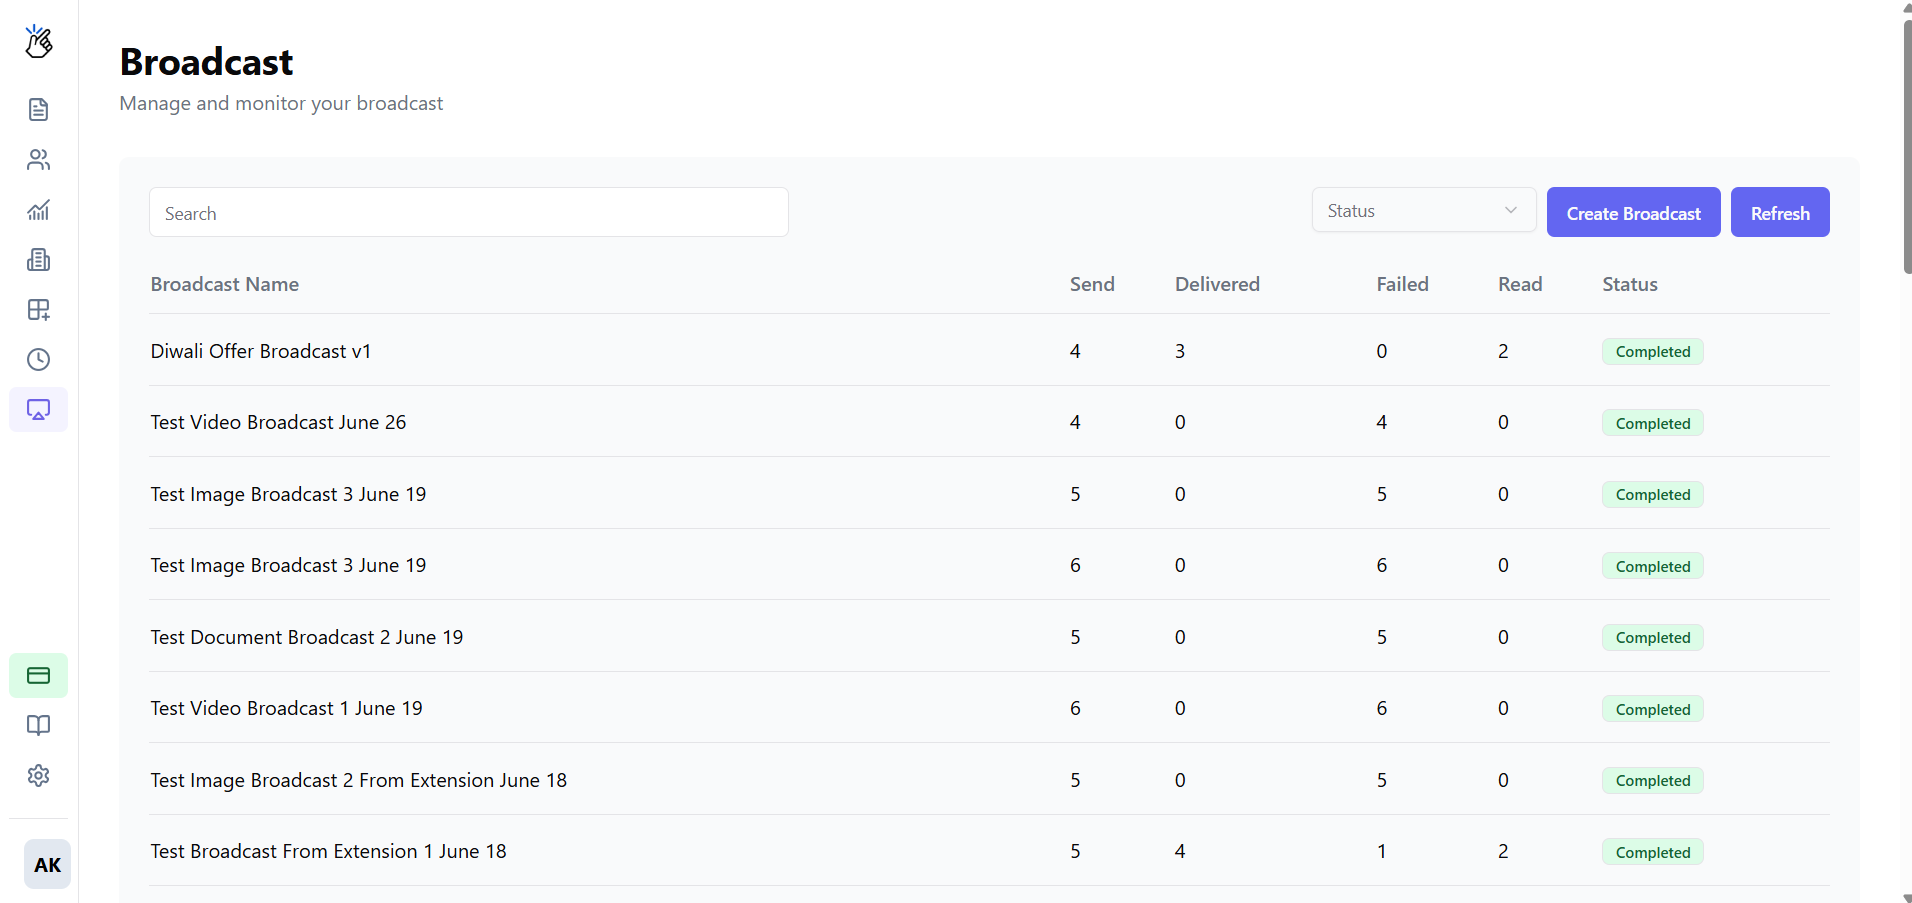
After Sending
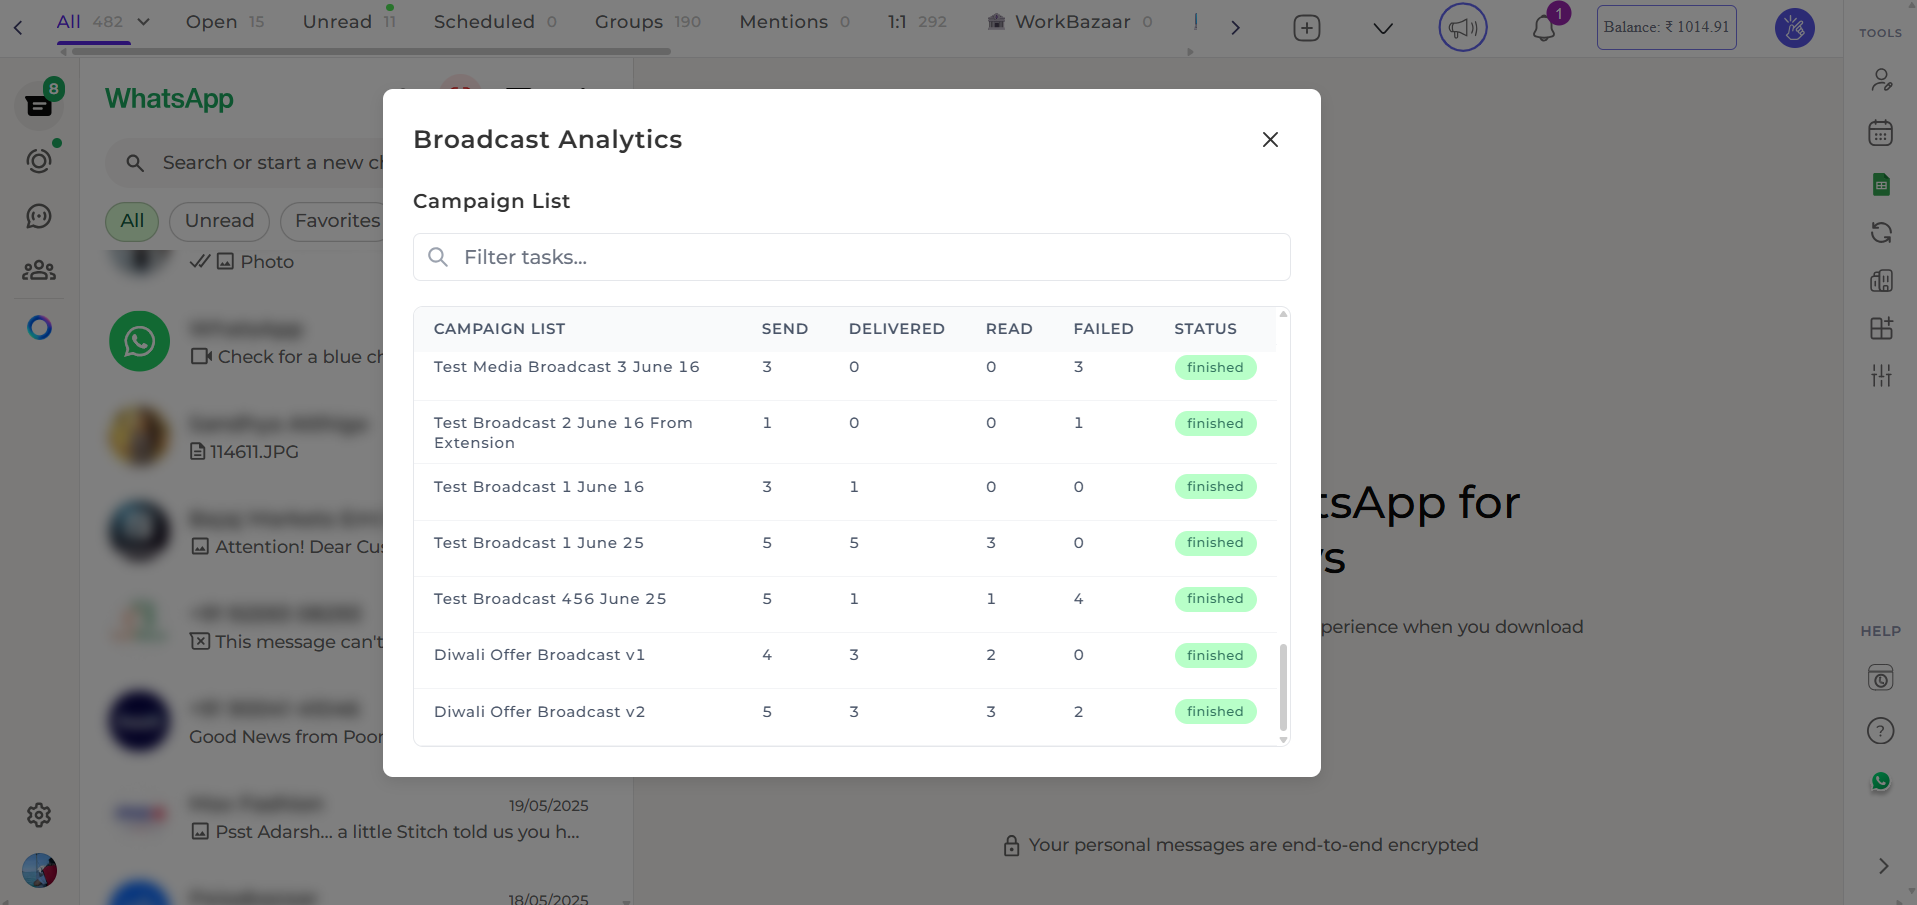
Your broadcast enters the queue and messages are sent progressively. Track status in Broadcasts dashboard:View Analytics
Track campaign performance and engagement