> ## Documentation Index
> Fetch the complete documentation index at: https://help.eazybe.com/llms.txt
> Use this file to discover all available pages before exploring further.
# Create Contacts
> Learn how to create new Zoho Contacts directly from WhatsApp using the EazyBe extension
Create new Zoho Contacts directly from your WhatsApp conversations using the EazyBe extension. Seamlessly capture contact information without switching between applications.
## How to Create a Zoho Contact
Access the WhatsApp conversation with the person you want to add as a new contact in Zoho.
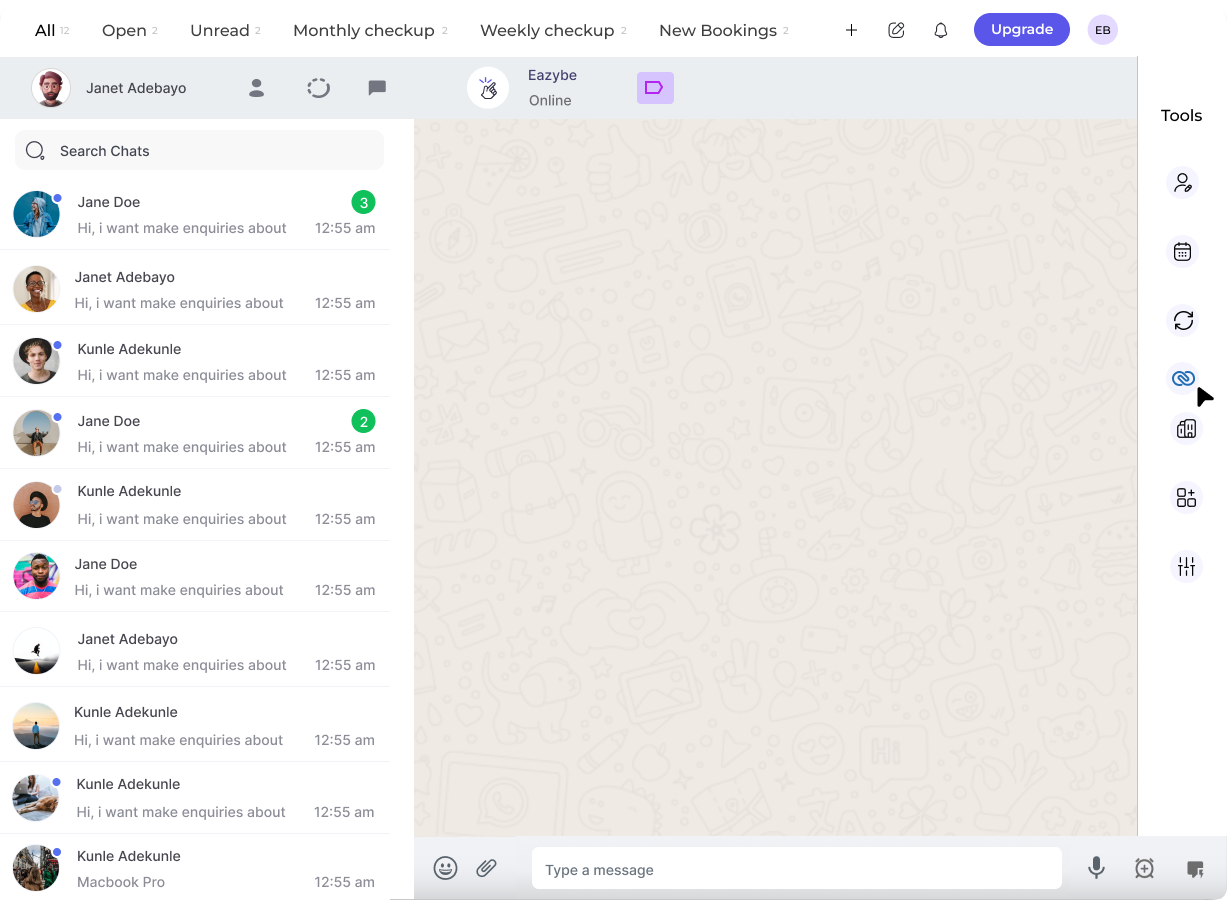 In the right-side panel of the EazyBe extension, locate and click on the **Zoho icon** to access your CRM features.
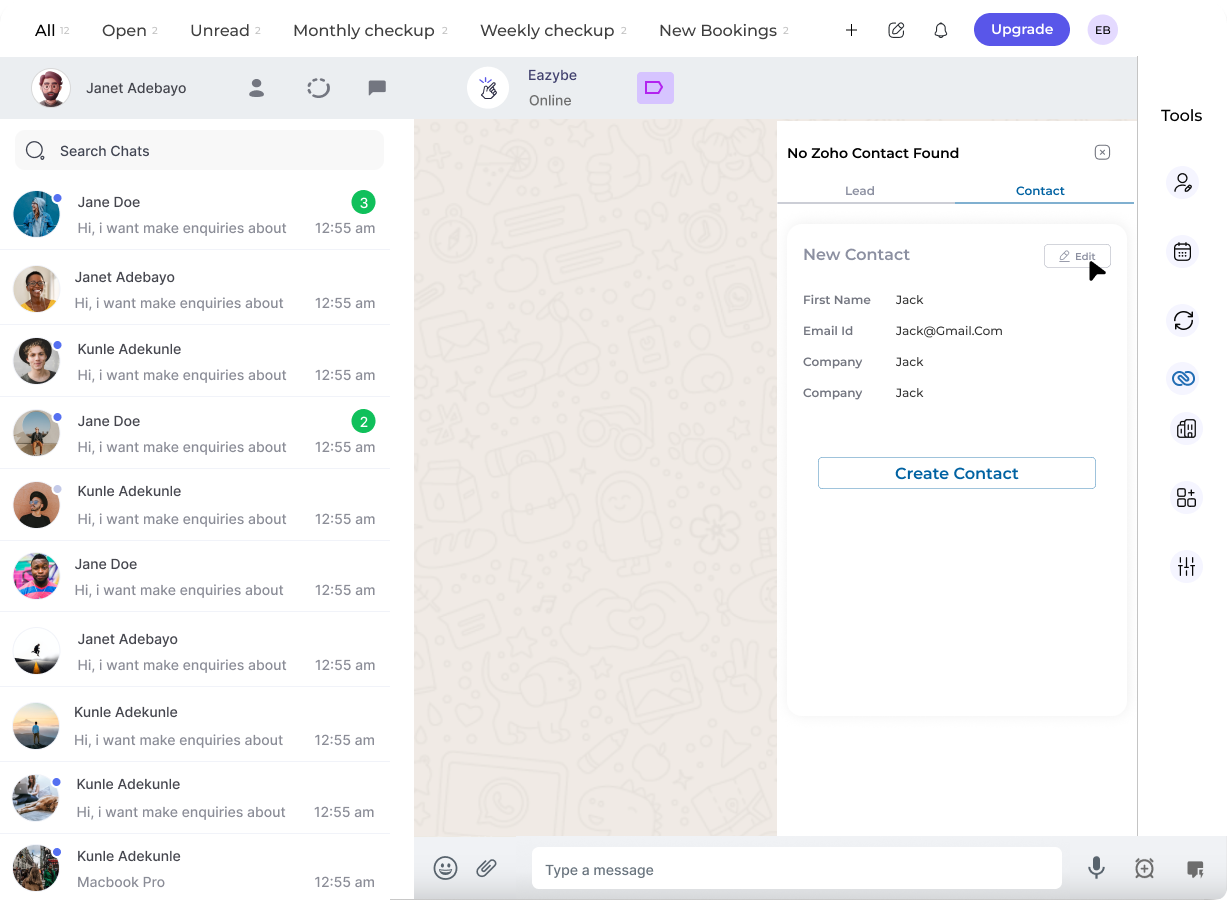 Click on the **Contact** header within the Zoho popup window to open the contact creation form.
Complete all necessary fields with the contact's information.
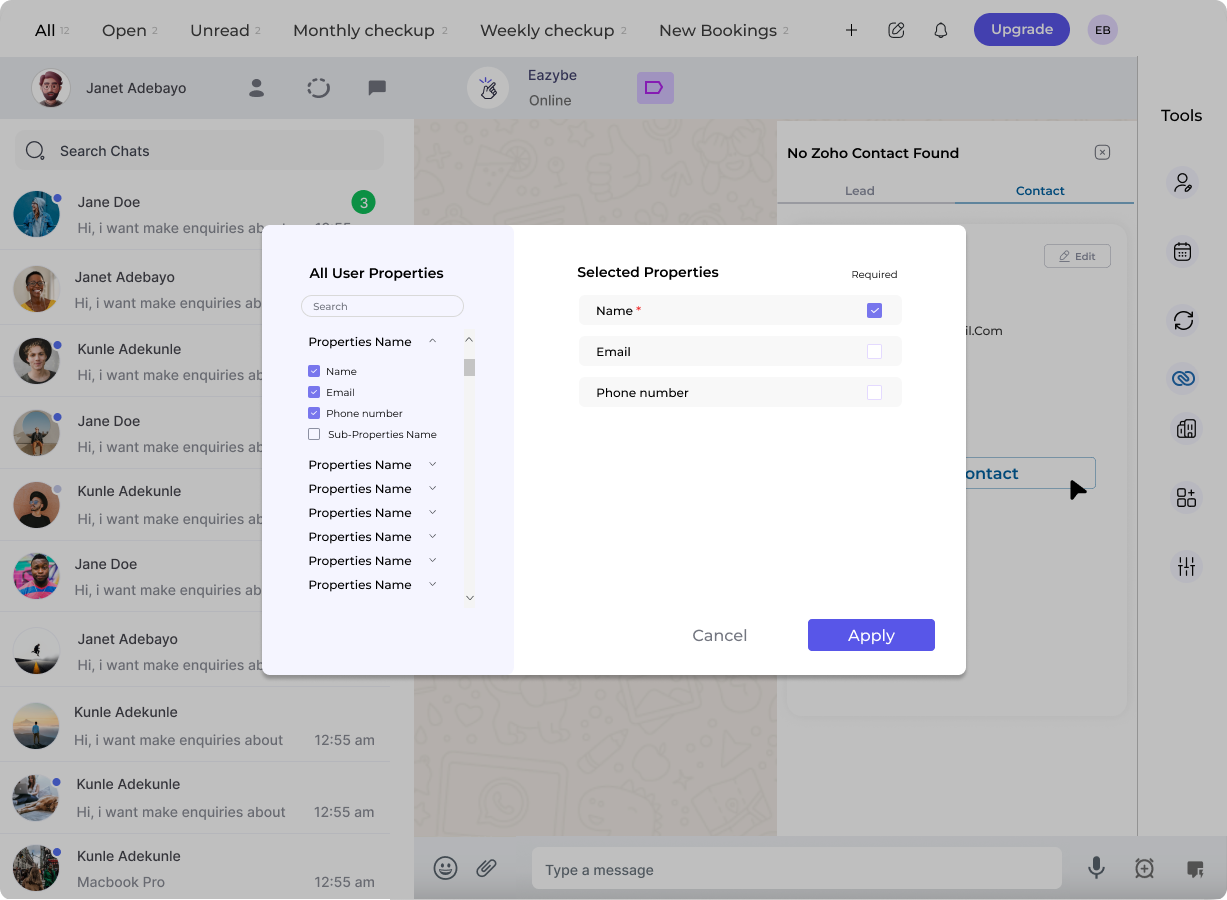
Use the **Edit** button to customize user properties and add additional fields as needed.
Click on the **Contact** header within the Zoho popup window to open the contact creation form.
Complete all necessary fields with the contact's information.
Use the **Edit** button to customize user properties and add additional fields as needed.
 Click the **Create Contact** button to finalize and save the new contact entry to Zoho.
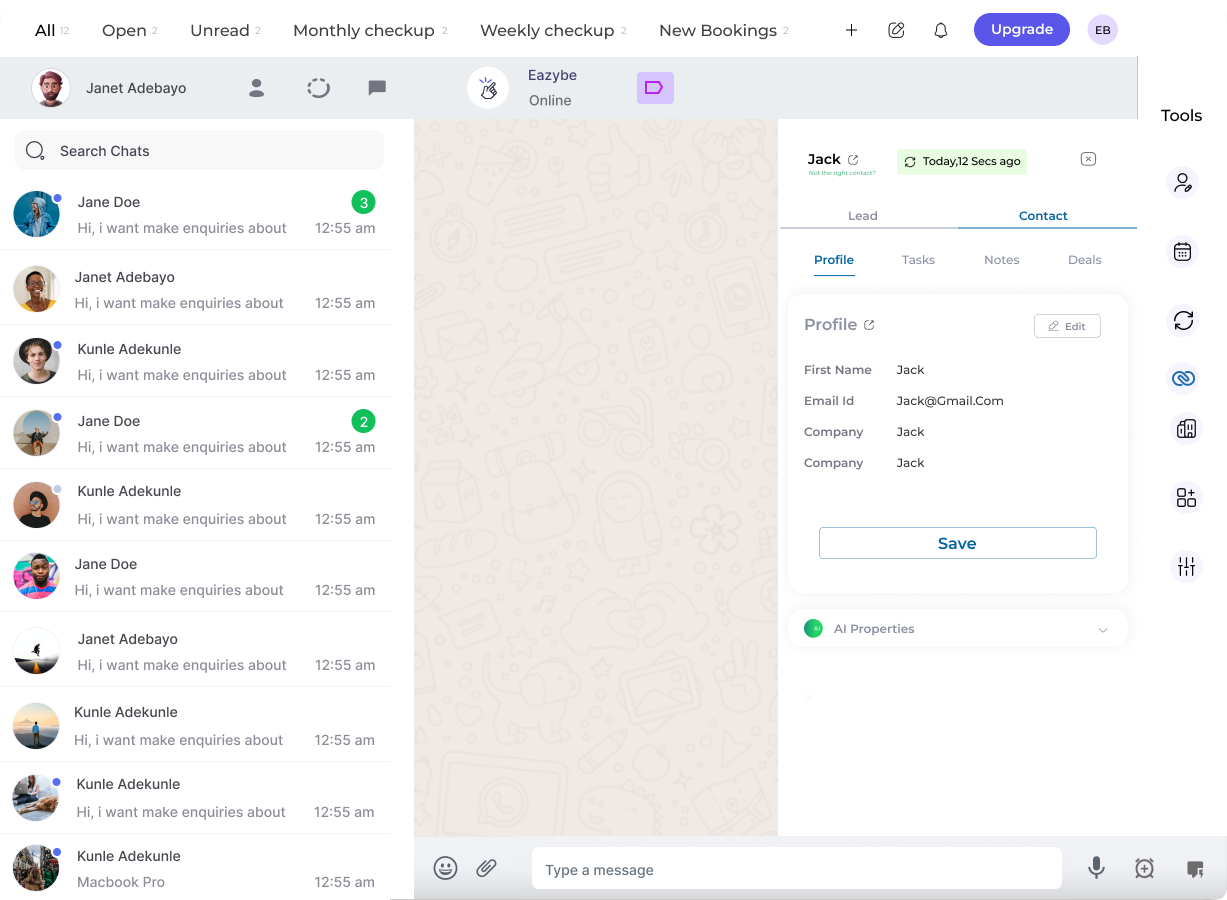 ## Viewing Your Contact in Zoho
After creating the contact, you can easily access it in Zoho:
Click the **View Contact on Zoho** button in the contact's profile section to open the full contact record directly in Zoho CRM.
The contact will be immediately available in your Zoho CRM with all the information you entered during creation.
## Need Help?
If you have questions or need assistance, contact our support team at [hey@eazybe.com](mailto:hey@eazybe.com).
## Viewing Your Contact in Zoho
After creating the contact, you can easily access it in Zoho:
Click the **View Contact on Zoho** button in the contact's profile section to open the full contact record directly in Zoho CRM.
The contact will be immediately available in your Zoho CRM with all the information you entered during creation.
## Need Help?
If you have questions or need assistance, contact our support team at [hey@eazybe.com](mailto:hey@eazybe.com).