> ## Documentation Index
> Fetch the complete documentation index at: https://help.eazybe.com/llms.txt
> Use this file to discover all available pages before exploring further.
# Create and Customize Deals
> Learn how to create and customize HubSpot deals directly from WhatsApp conversations using the Eazybe extension
## Overview
The Eazybe WhatsApp Extension allows you to create and manage HubSpot deals without leaving your WhatsApp conversations. This seamless integration helps you track sales opportunities, manage pipelines, and close deals faster by keeping everything in one place.
Ensure the WhatsApp contact is already created in HubSpot before creating a deal for them.
***
## Video Tutorial
Watch how to create and customize HubSpot deals from WhatsApp:
***
## Creating HubSpot Deals
Follow these steps to create a new deal for your HubSpot contacts directly from WhatsApp:
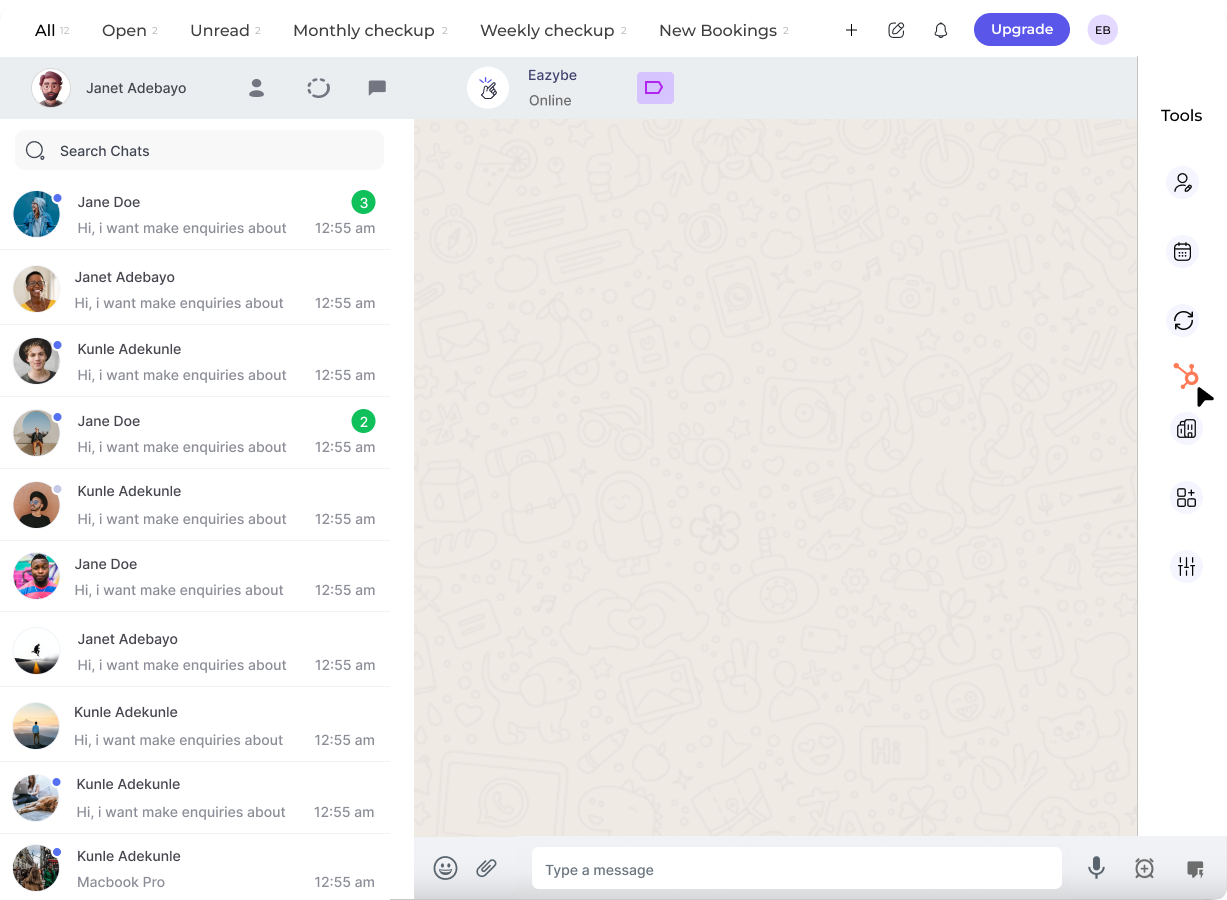
Open the WhatsApp chat of the contact for whom you want to create a deal. Make sure the contact is already created in HubSpot.
Click on the **HubSpot icon** in the right sidebar. The fourth button in the top bar will take you to the **Deals** section.
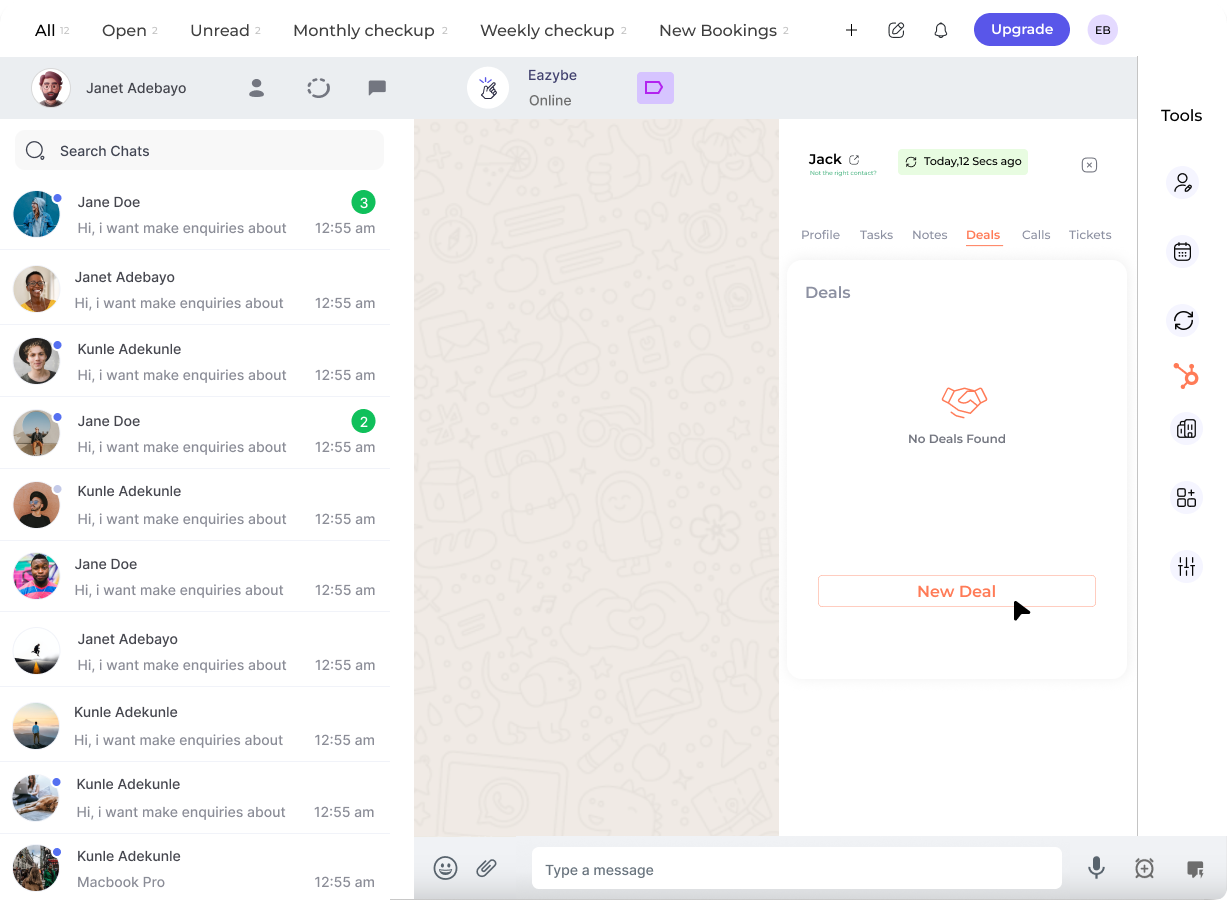
Click on the **New Deal** button to start creating a deal for this contact.
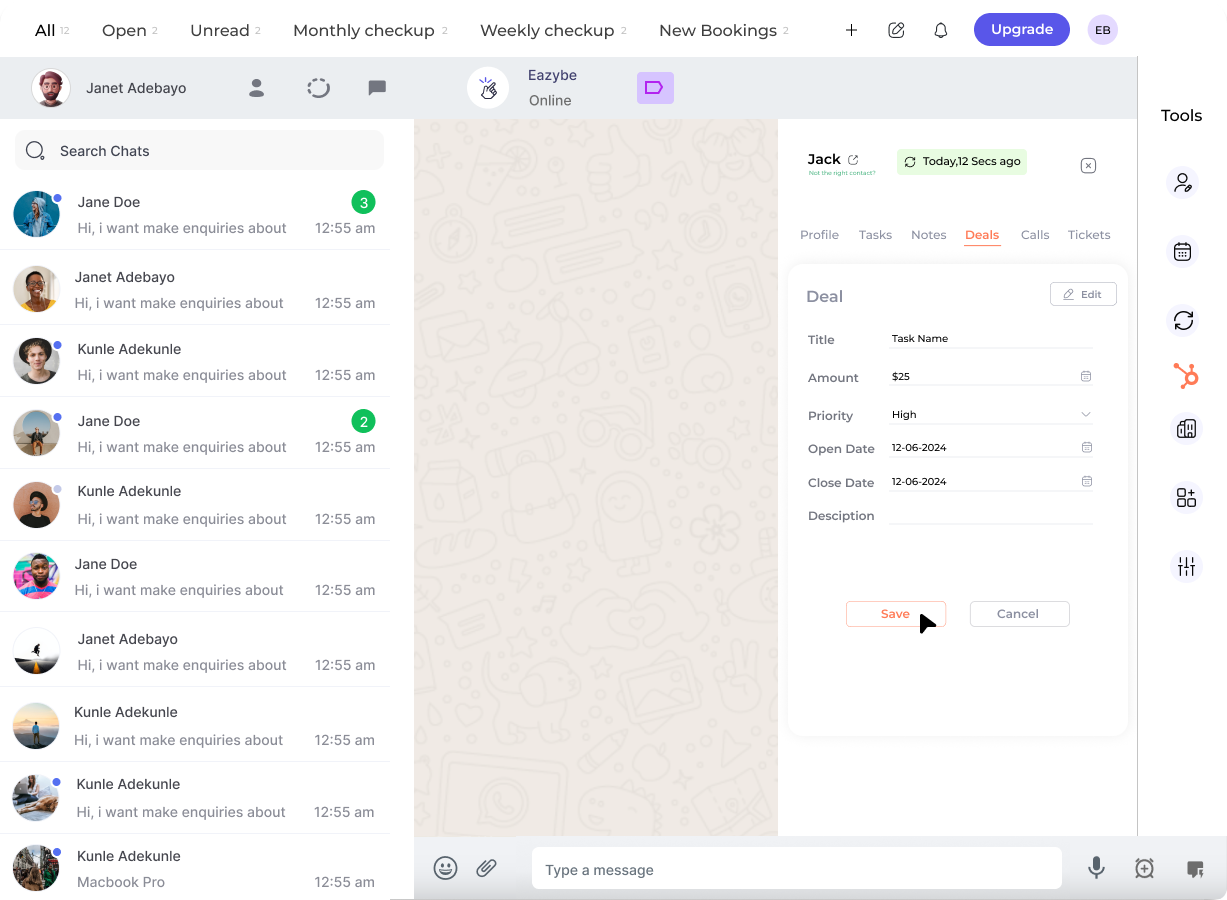
Select and customize additional properties for your deal:
* Deal name
* Pipeline selection
* Deal stage
* Deal amount
* Close date
* Custom properties
Reorder properties as needed for your workflow, then click **Apply**.
Fill in all necessary fields with the relevant information, then click **Save Deal** to create the deal in HubSpot.
The deal is now created and automatically linked to the contact in your HubSpot CRM.
***
## Managing Existing Deals
Once deals are created, you can easily view and edit them from the Mini-CRM panel:
### Viewing Deals
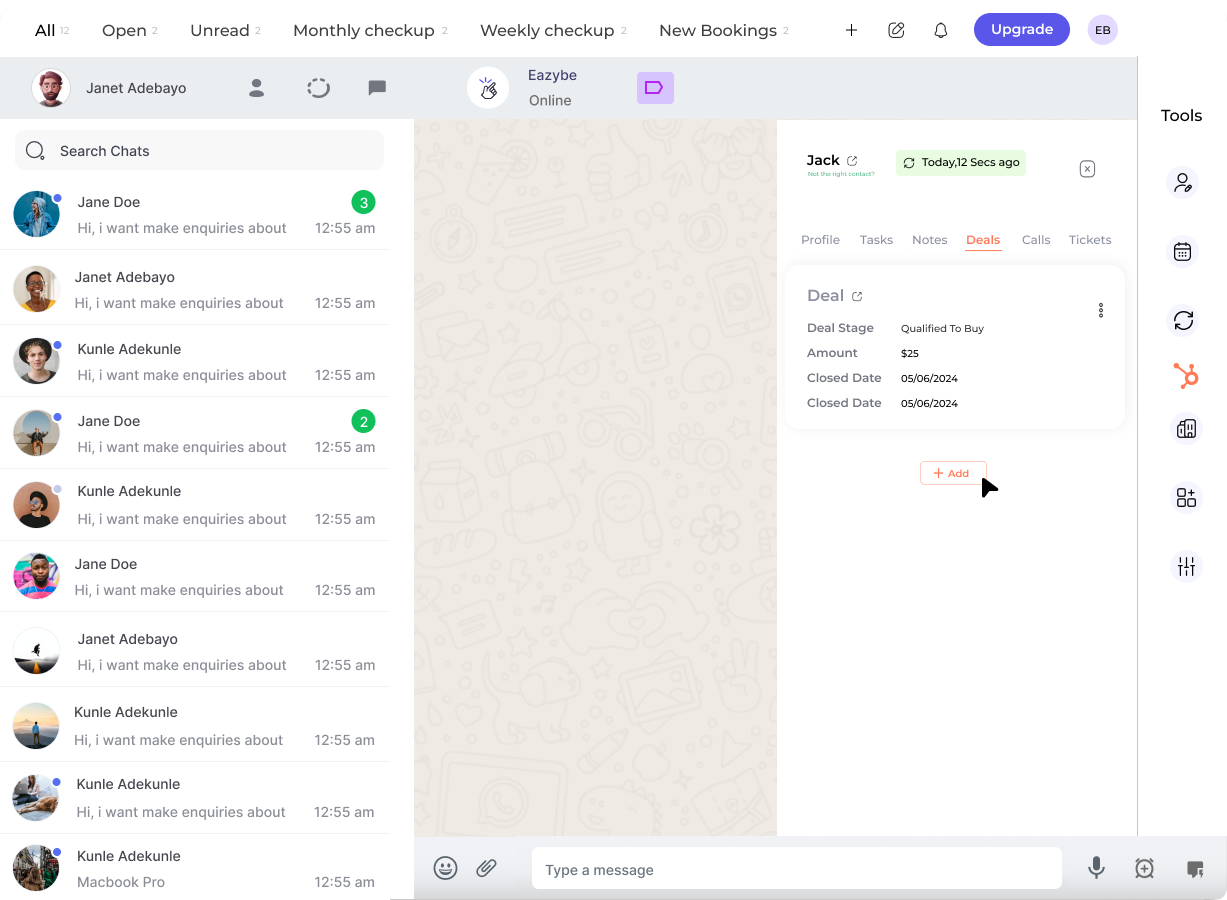
Click the redirect button next to the deal name to open it directly in HubSpot for detailed viewing.
See deal stage, amount, and close date at a glance in the Mini-CRM panel.
### Editing Deals
Click the **Edit** icon next to the deal you want to modify.
Modify deal properties as needed:
* Change the pipeline
* Update the deal stage
* Adjust the deal amount
* Modify the close date
* Update custom properties
Click **Save** to update the deal in HubSpot.
***
## Deal Properties You Can Customize
Select which sales pipeline this deal belongs to.
Track progress from initial contact to closed deal.
Set the expected value of the deal.
Set the expected closing date for forecasting.
***
## Best Practices
Create deals as soon as you identify a sales opportunity to ensure accurate tracking from the start.
Regularly update deal stages to reflect the current status and maintain accurate pipeline visibility.
Enter realistic deal amounts to improve forecasting accuracy and revenue predictions.
Use realistic close dates and update them as negotiations progress for better pipeline management.
***
## Need Help?
If you have any questions or need further assistance, reach out to us at **[hey@eazybe.com](mailto:hey@eazybe.com)**. We're happy to help!