> ## Documentation Index
> Fetch the complete documentation index at: https://help.eazybe.com/llms.txt
> Use this file to discover all available pages before exploring further.
# Contact Task
> Create and manage pending tasks for Bitrix contacts directly from WhatsApp chats using EazyBe's Bitrix Integration
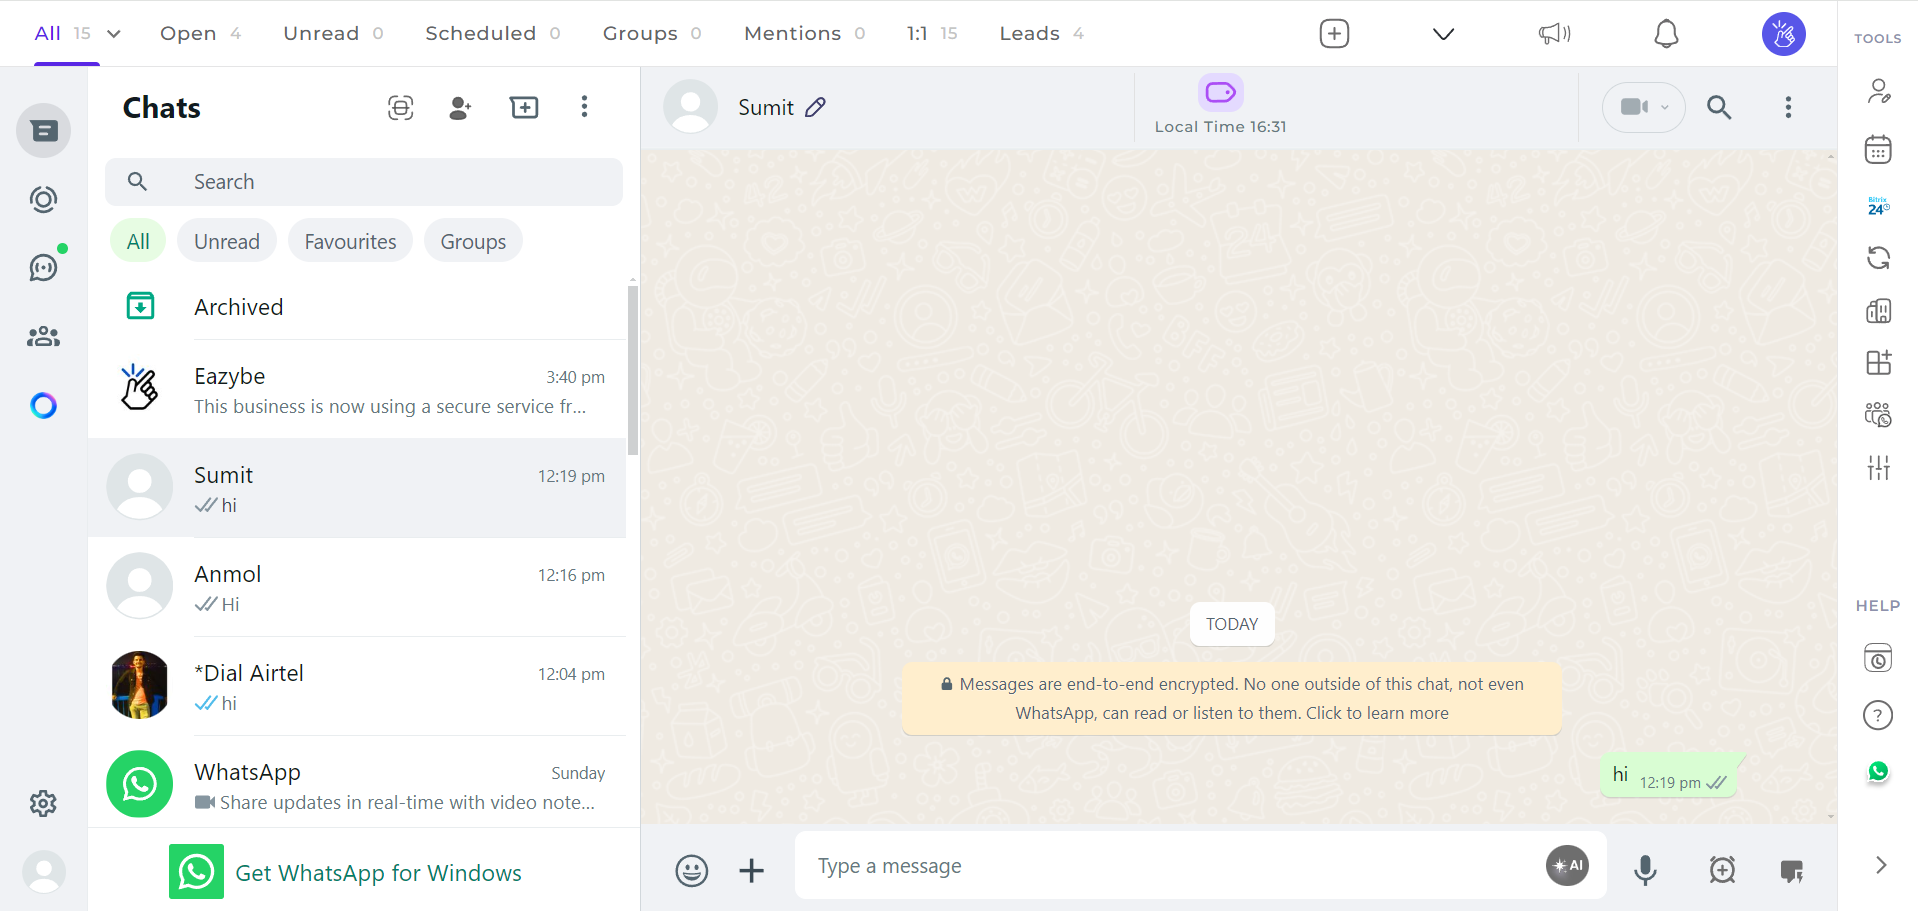
Do you have a pending task you want to save so you can track it anytime? Don't worry! The Task Section of EazyBe's Bitrix Integration comes to your rescue.
Launch the WhatsApp conversation with your Bitrix contact where you want to create a task.
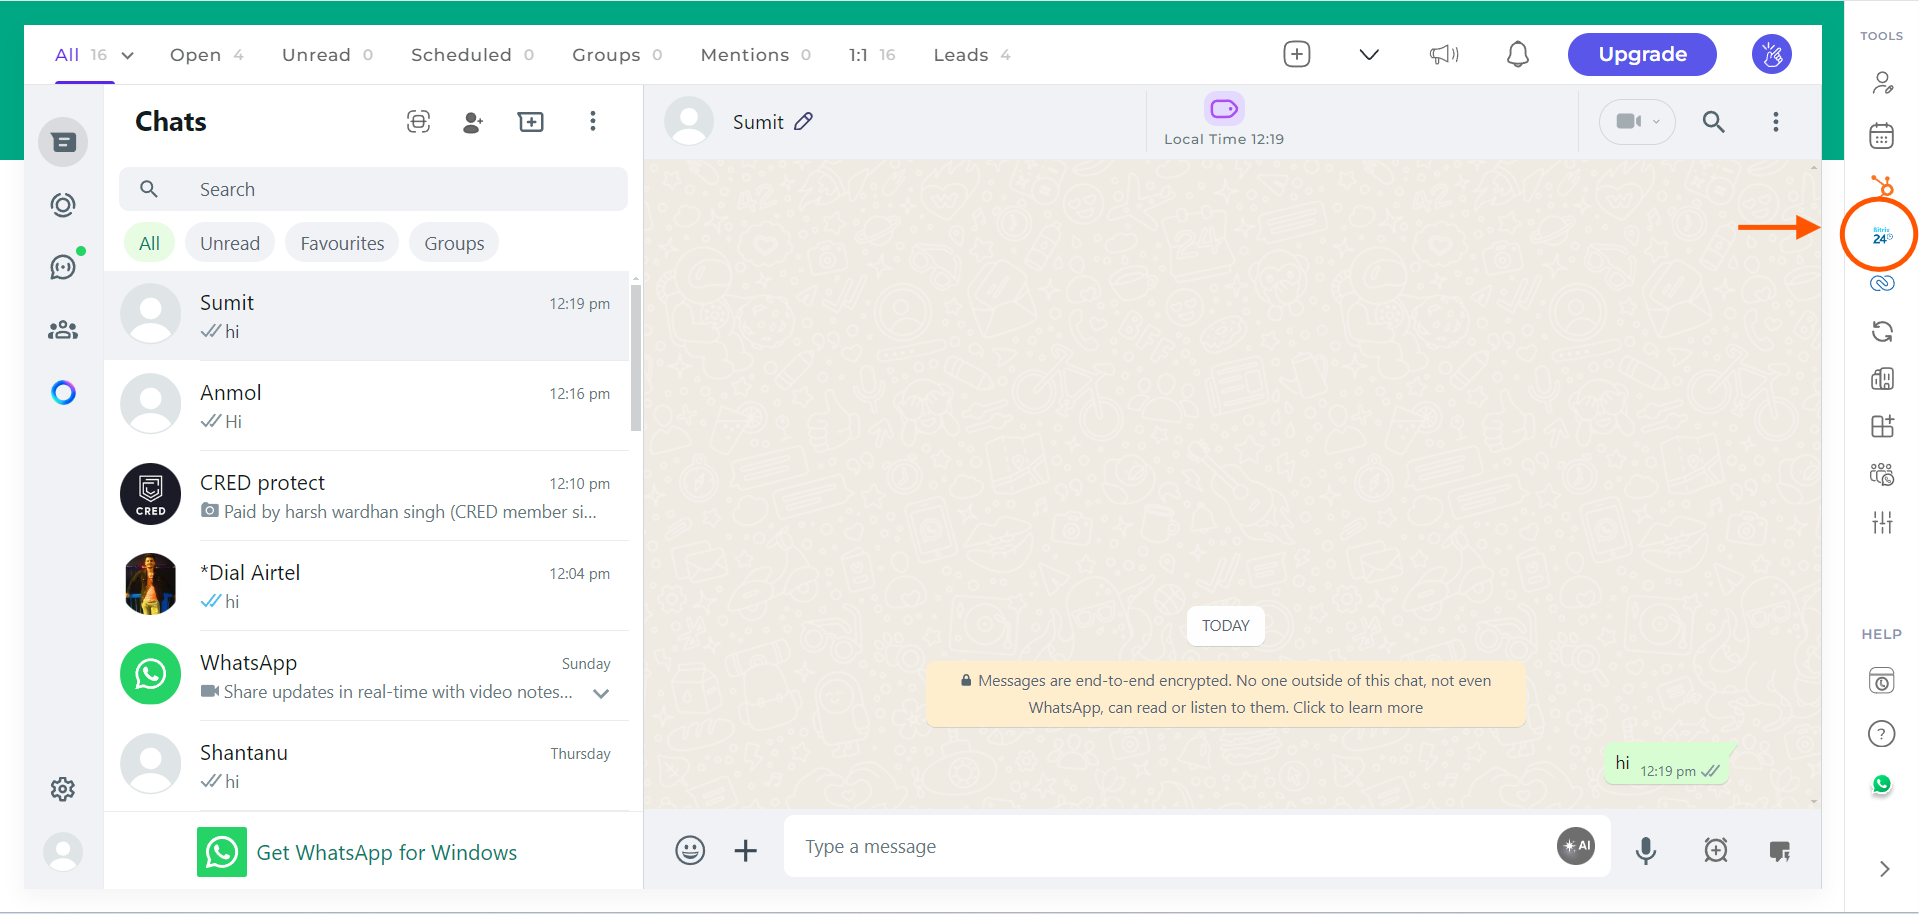
 Select the Bitrix icon located in the EazyBe extension's right sidebar to access Bitrix features.
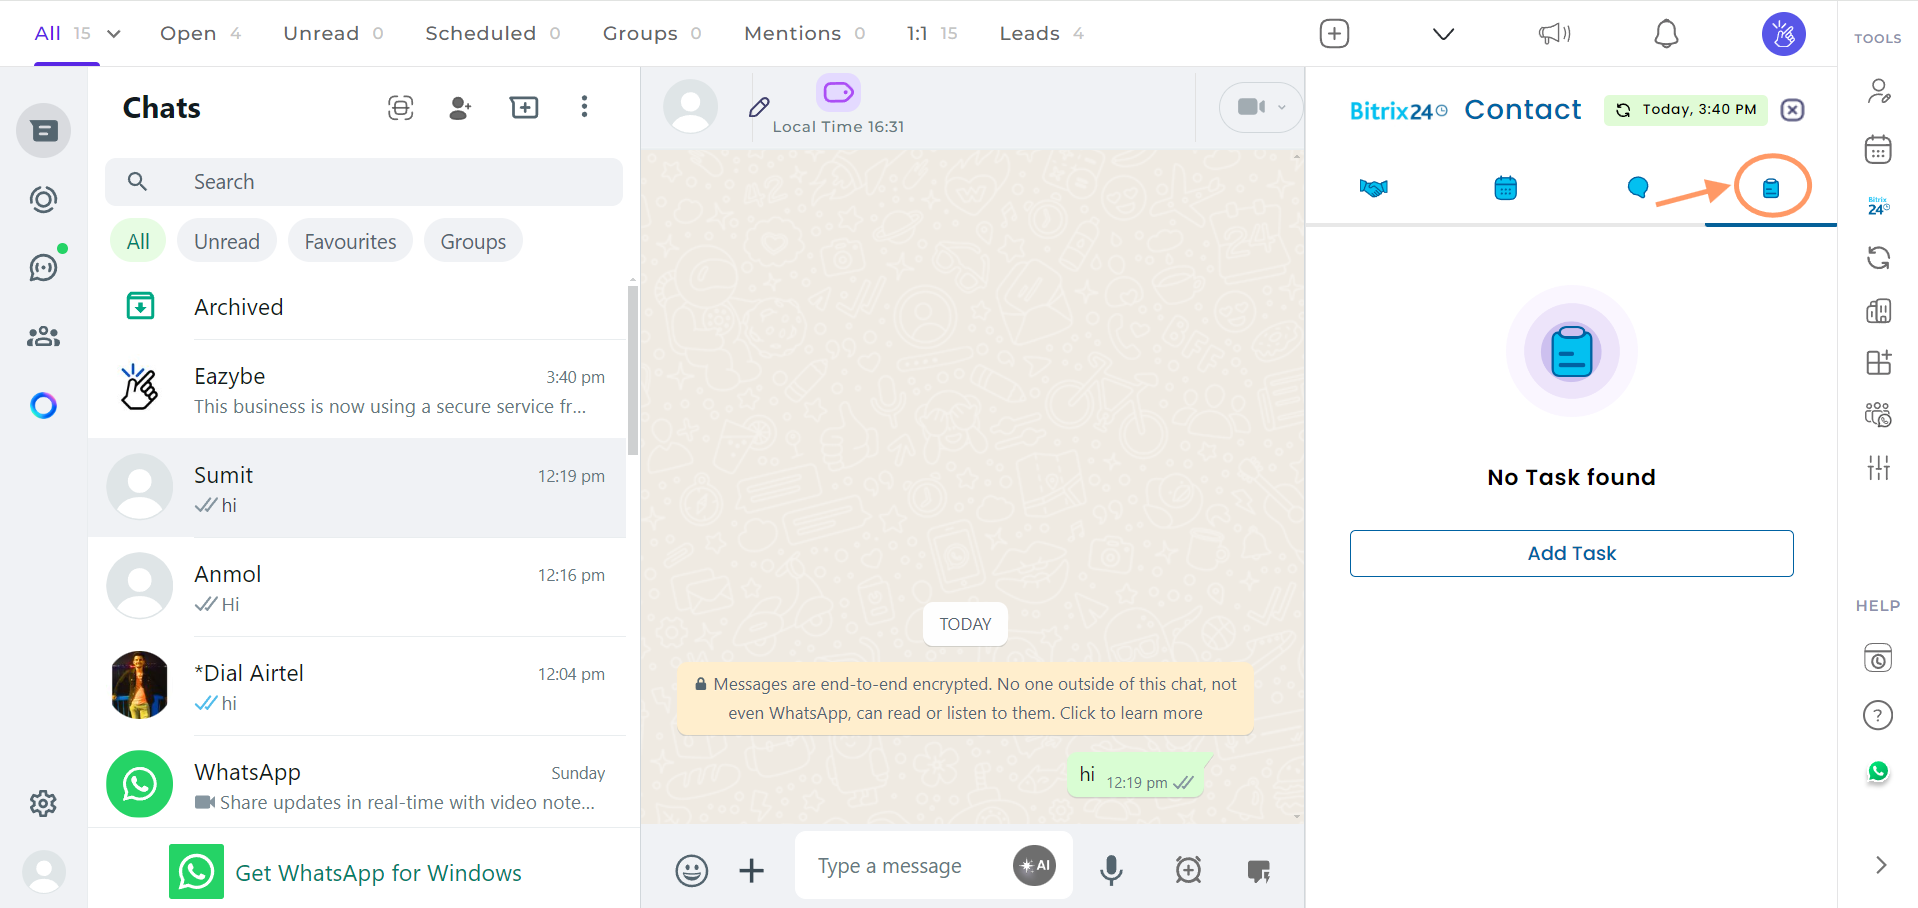
 Navigate to the Tasks section. This is the last header under the Contact Section.
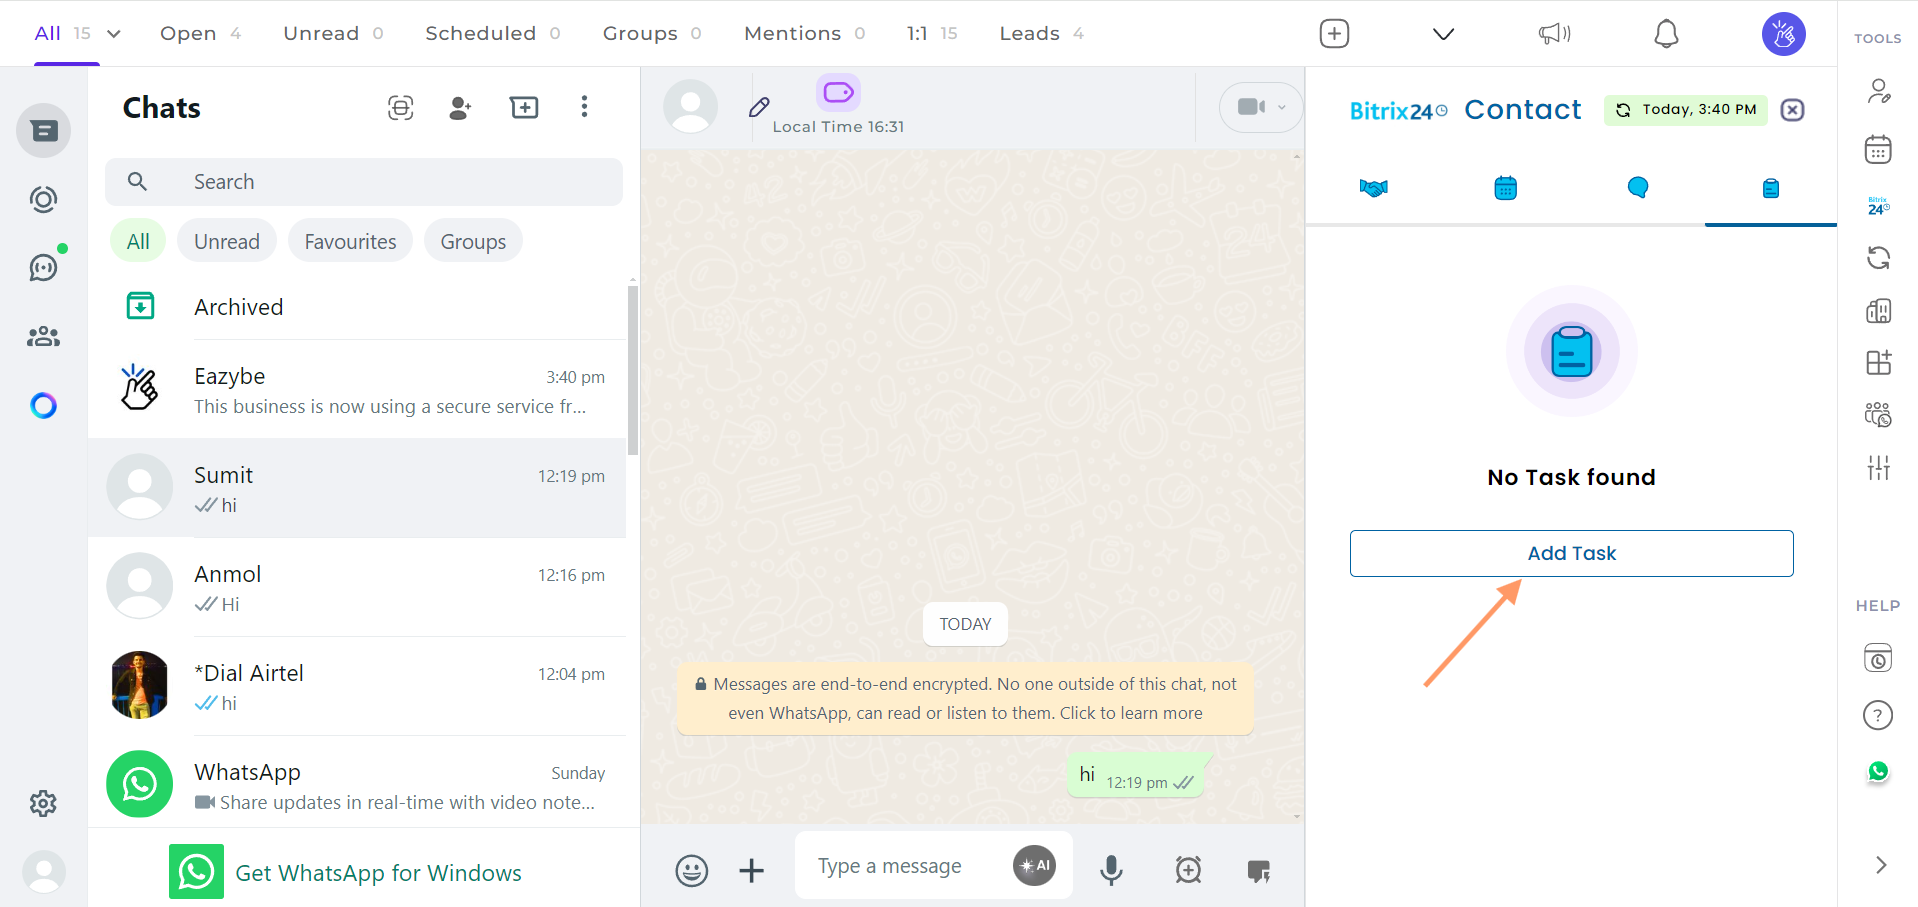
 Click the **Add Task** button to create a new task.
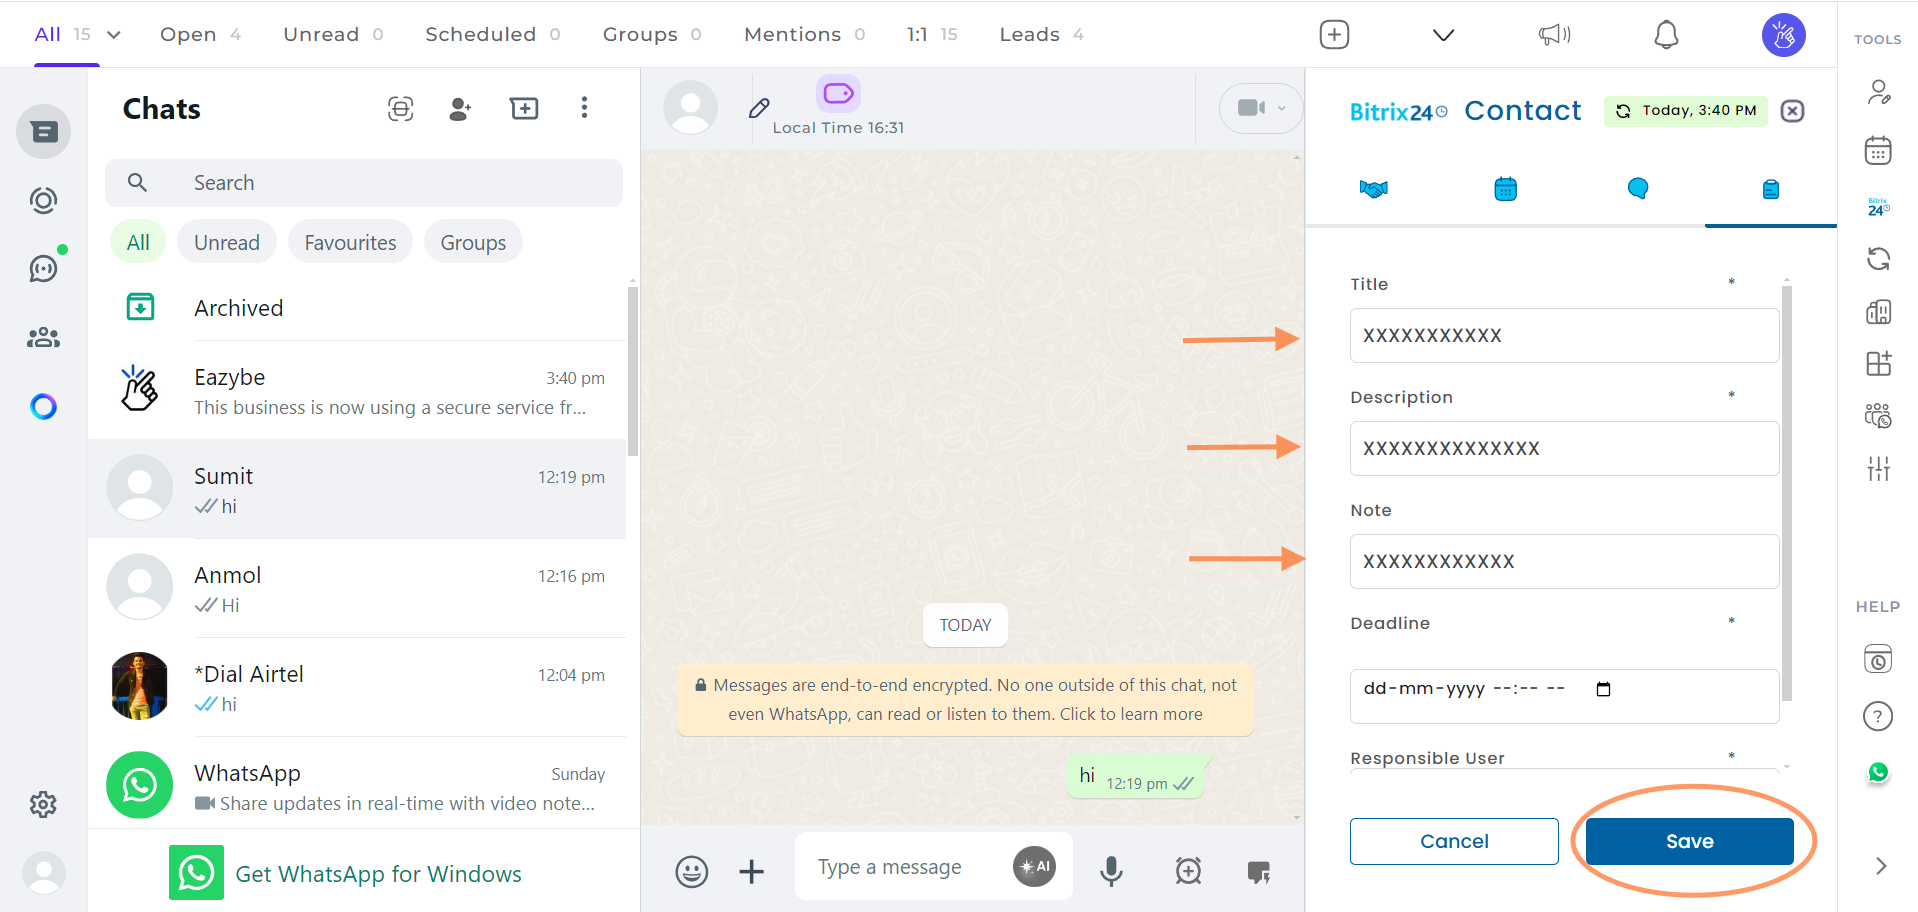
 Fill in all the required task information, then click **Save** to create the task.
 Once saved, your task will appear in the task list. You can confirm it was created successfully.
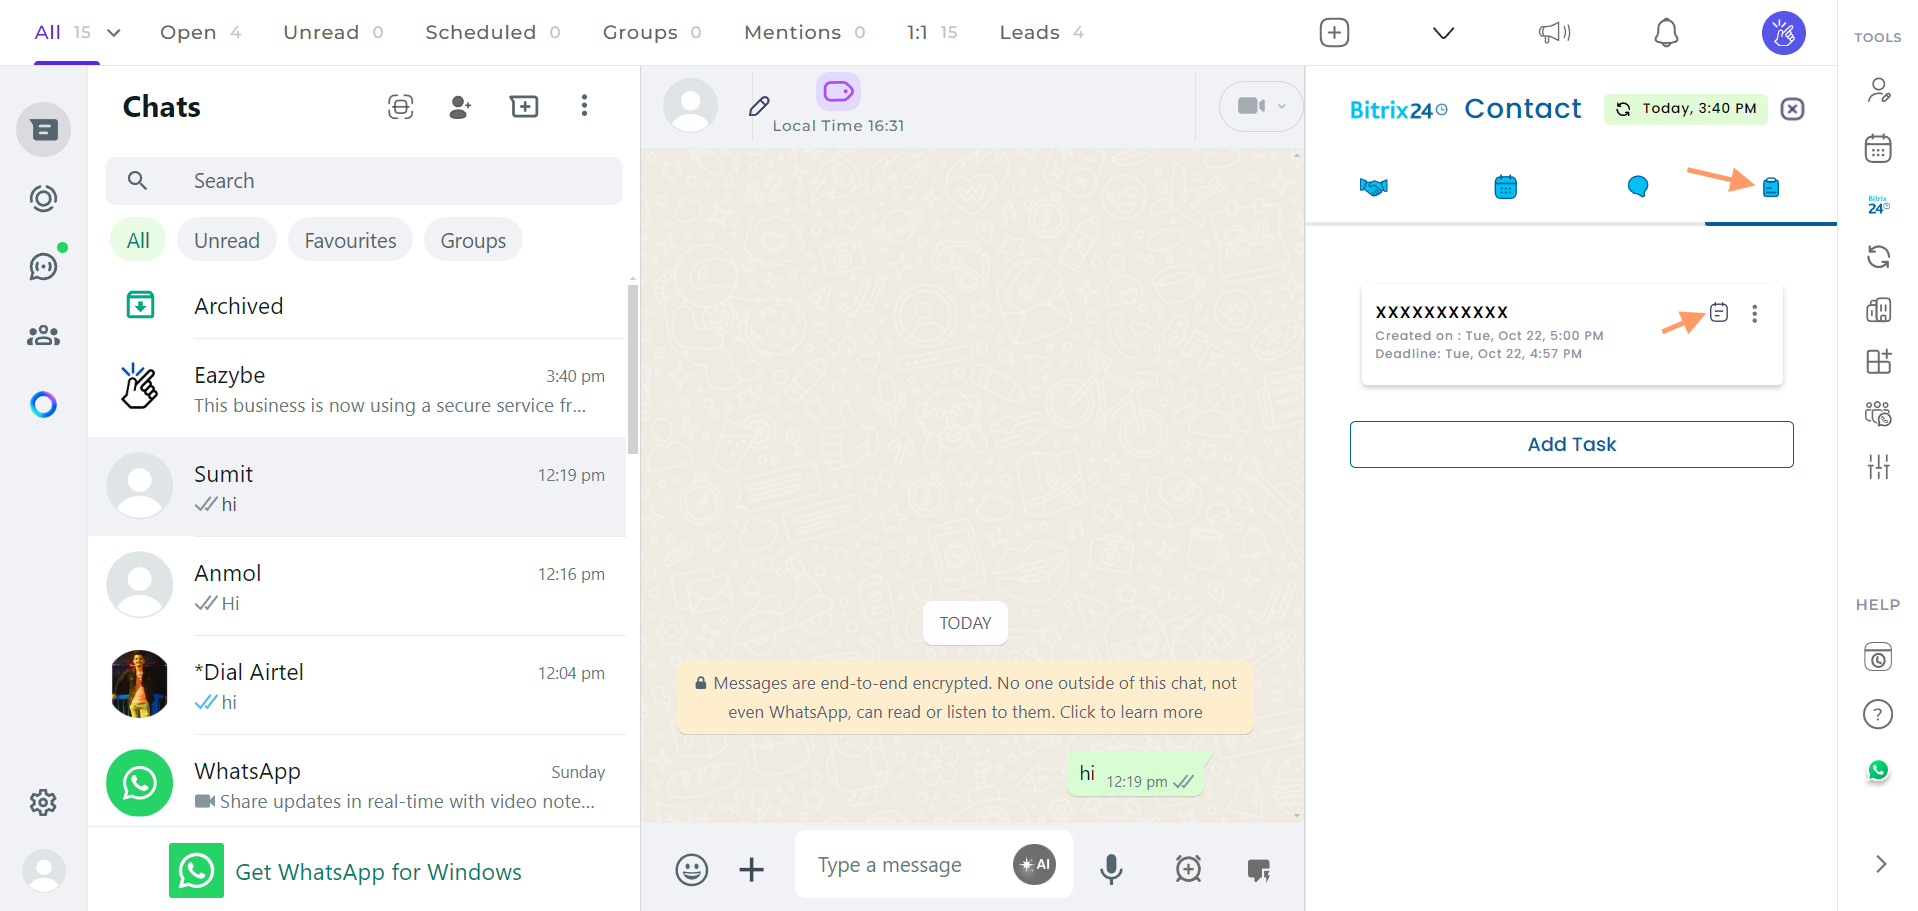 Use the available options to manage your tasks:
* Click to view or hide task notes
* Use the three-dot menu to edit or delete tasks
Use the available options to manage your tasks:
* Click to view or hide task notes
* Use the three-dot menu to edit or delete tasks
 Keep your tasks organized by adding clear titles and detailed notes. This makes it easier to track pending work with your Bitrix contacts.
***
If you have any questions, please reach out to us at [hey@eazybe.com](mailto:hey@eazybe.com).
Keep your tasks organized by adding clear titles and detailed notes. This makes it easier to track pending work with your Bitrix contacts.
***
If you have any questions, please reach out to us at [hey@eazybe.com](mailto:hey@eazybe.com).