> ## Documentation Index
> Fetch the complete documentation index at: https://help.eazybe.com/llms.txt
> Use this file to discover all available pages before exploring further.
# Install and Connect
> Learn how to install the Eazybe extension and connect it to your Bitrix24 account for seamless WhatsApp integration.
Follow these steps to install the Eazybe extension and connect it to your Bitrix24 account.
## Installation Steps
Navigate to [WhatsApp Web](https://web.whatsapp.com) and ensure your WhatsApp account is connected.
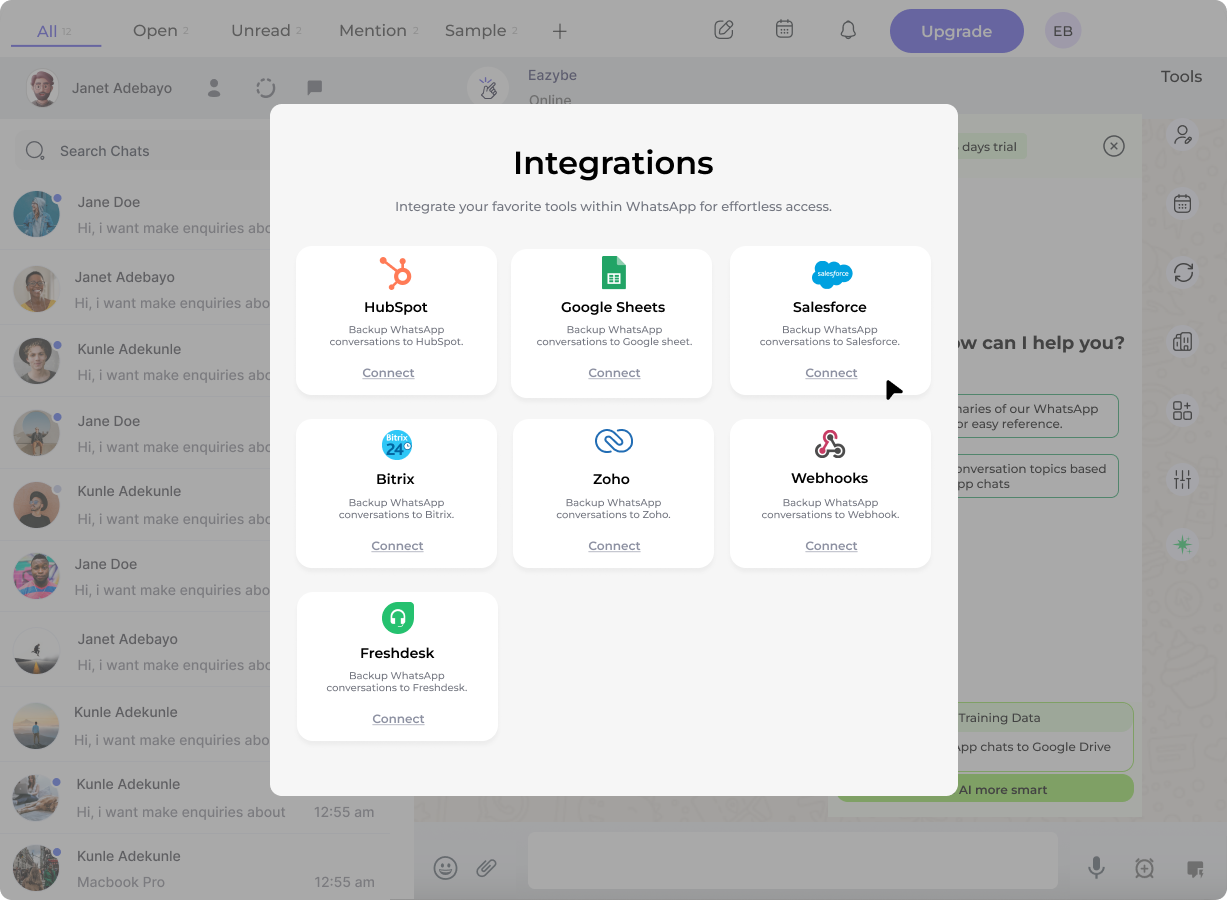
Click on the **Integrations** button in the Eazybe extension panel to view available CRM integrations.
 Find **Bitrix24** in the list of available integrations and click the **Connect** button.
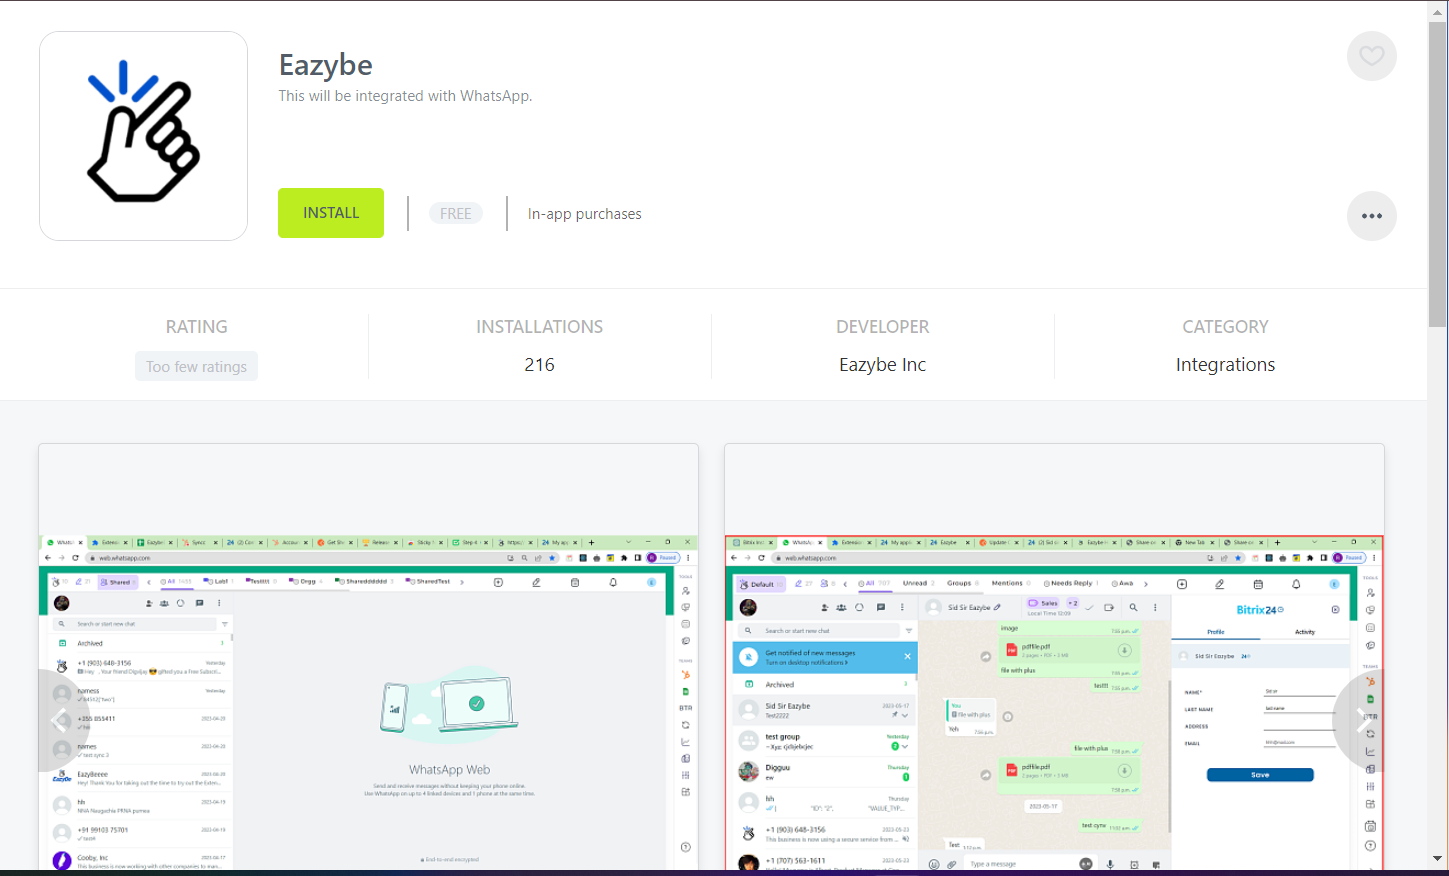
 You will be redirected to the Bitrix24 Marketplace. Click **Install** to add the Eazybe application to your Bitrix24 account.
 Review the required permissions and click **Accept** to authorize the integration. This allows Eazybe to sync data with your Bitrix24 CRM.
 Once permissions are accepted, return to WhatsApp Web. Your Bitrix24 integration should now be active and ready to use.
After connecting, you can start syncing WhatsApp contacts with your Bitrix24 CRM and access customer information directly from your chats.
## Next Steps
Learn how to sync WhatsApp contacts with Bitrix24.
Explore the Mini CRM feature for quick access to customer data.
## Need Help?
For questions or assistance, contact us at [hey@eazybe.com](mailto:hey@eazybe.com).
Once permissions are accepted, return to WhatsApp Web. Your Bitrix24 integration should now be active and ready to use.
After connecting, you can start syncing WhatsApp contacts with your Bitrix24 CRM and access customer information directly from your chats.
## Next Steps
Learn how to sync WhatsApp contacts with Bitrix24.
Explore the Mini CRM feature for quick access to customer data.
## Need Help?
For questions or assistance, contact us at [hey@eazybe.com](mailto:hey@eazybe.com).